How to Generate Result report in CVS format in Jmeter
Posted By : Nargis Khan | 14-Sep-2018
Today we are seeing that how to generate the report in CSV format which can be sent to anyone. First of all, we all know what is JMeter, Jmeter is a tool which used to perform load testing and stress testing of the web app. Jmeter is a java based application and freely available on the internet. which means anyone can download and start performance testing on it.
Steps to performance:
1) Open the Jmeter by the terminal or by shortcut.
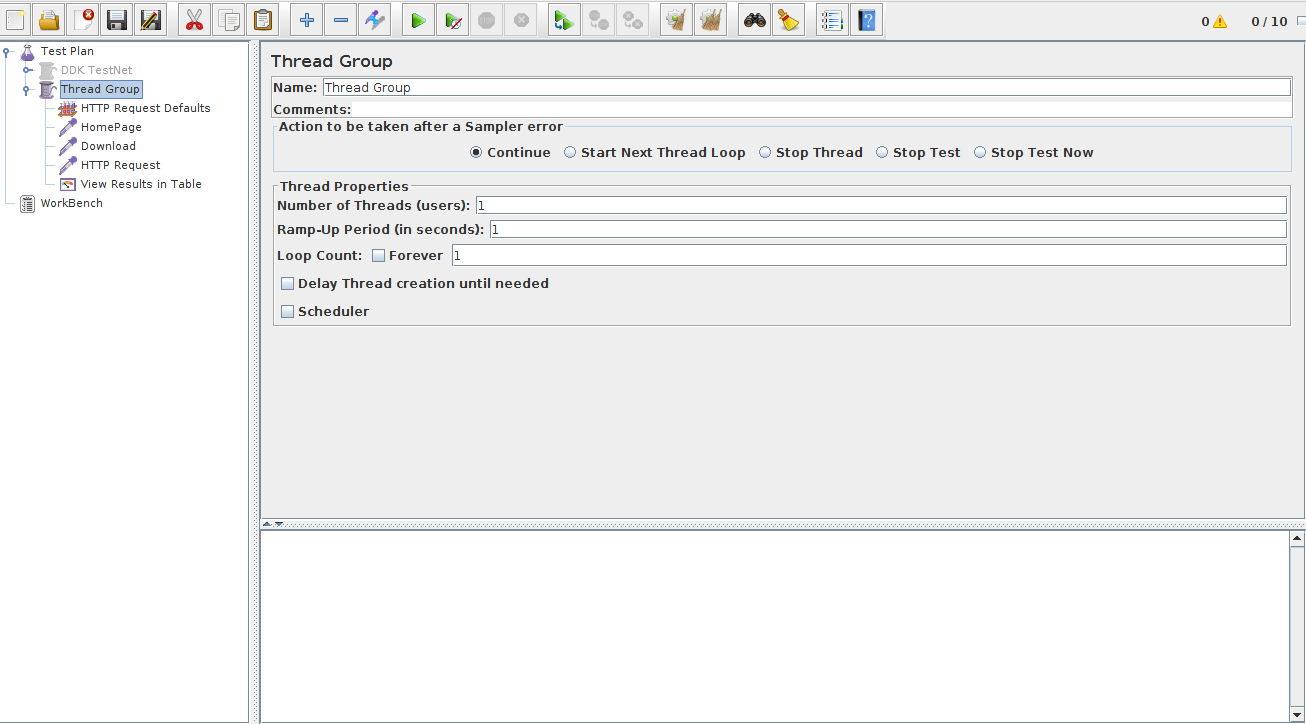
2) Add the Thread Group in the Test Plan as right-clicking on the TestPlan->Add->Threads(users)->Thread Group. Now Add the Thread Properties:
i) The number of thread/users should be 10 or as you want.
ii) ramp up period time should be 1 or as you want.
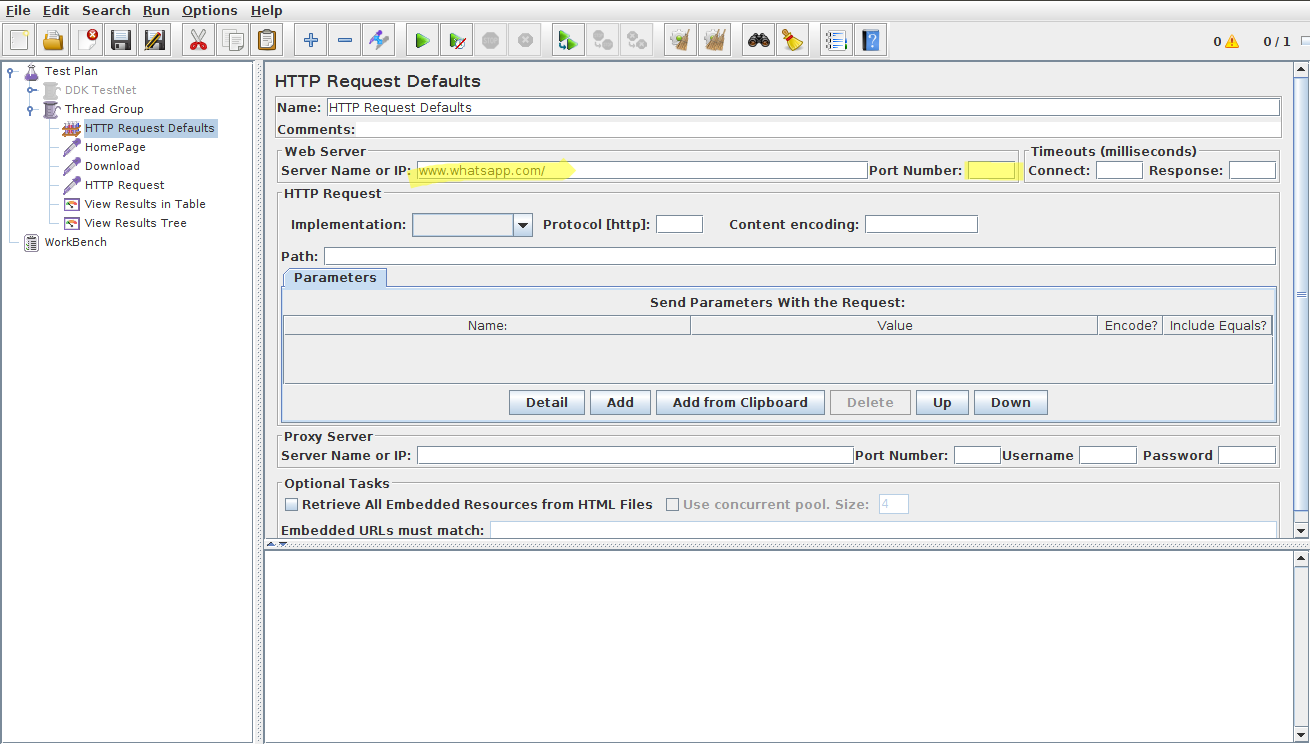
3. Add the Http Request Default as right-click on the Thread group->Add->Config Element->HTTP Request Defaults.
i) Add the URL in the Server Name.
ii) If your application has the login then provide the parameter in the below parameter section. Click on the Add Button then you need to provide the parameter key and value.
iii) Add the Port number like 4000/8080 if you have the Ip address Instead of the Url.
4. Add the Http Request as right-click on the Thread group->Add->Sampler->Http request.
i) Give the path of your page when you want to reach.
ii) Change the name of the request by your page name.

5. Add 3 more Http Request follow same as above.
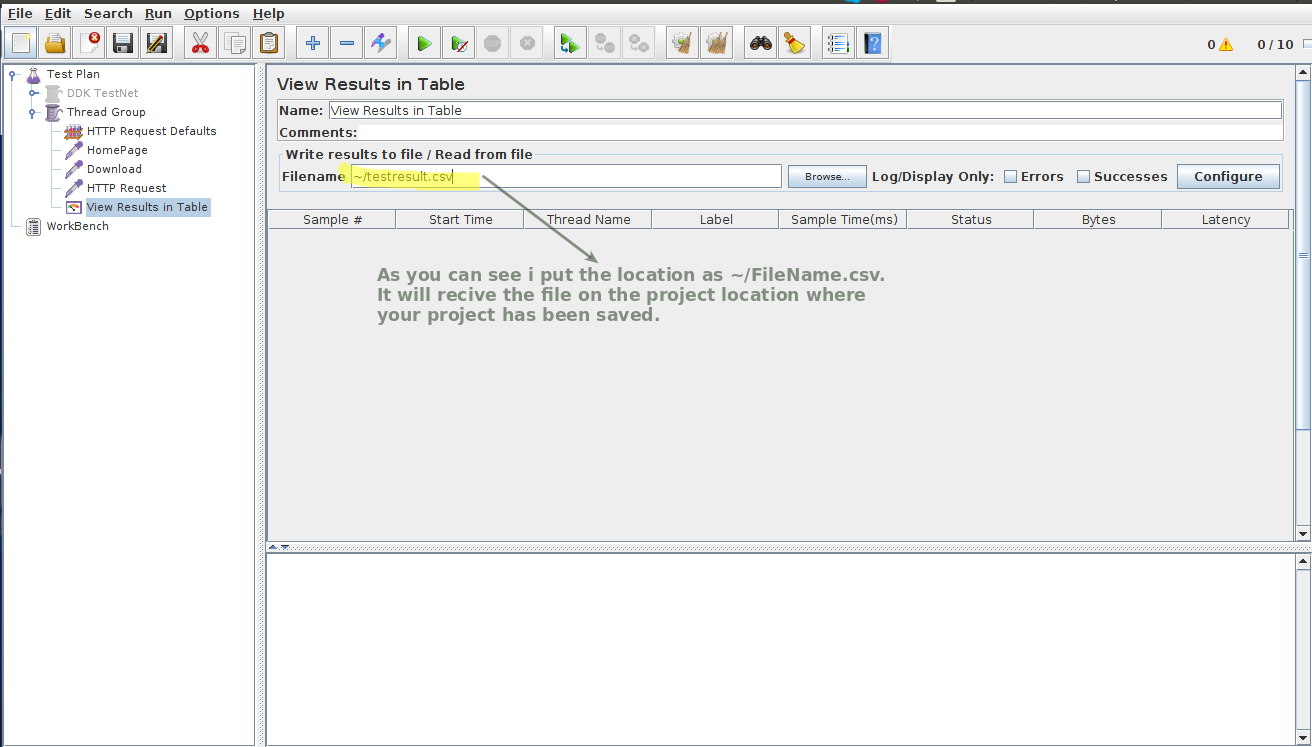
6. Add the listener in the Thread Group as right-clicking on the Thread Groud->Add->Listener->View Result in Table. you can add more listener but as of now, I am adding only one listener. Give the location where you want to receive the file in CSV format after execution. Now save the file project.
8. Open the Terminal/CMD
i) Go to your JMeter Directory then Bin folder.
ii) Then write this command "jmeter -n -t /home/nargis /Desktop/JmeterTesting/DDKoin.jmx [ Location of your test plan]" and Press Enter.
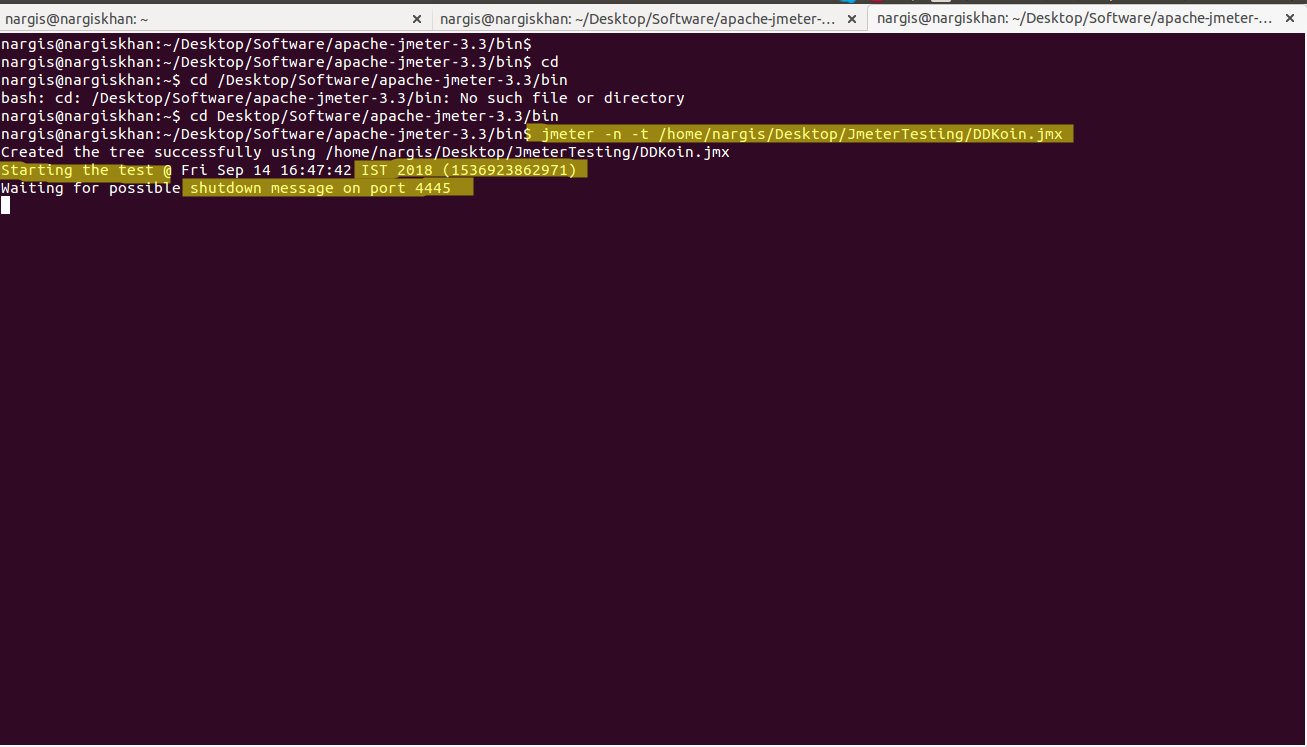
9. After execution is completed you received the CSV file in the same location. As you can see I received the file successfully.
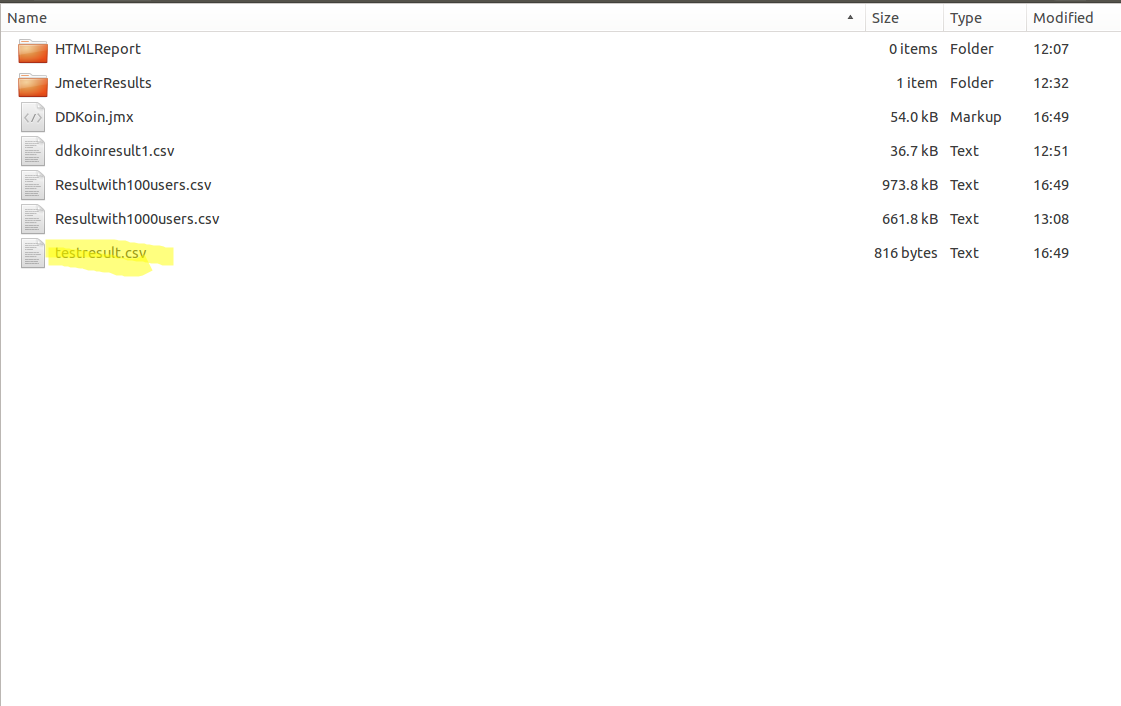
10. Open that file through Excel sheet/LibreOffice. Result is shown below.
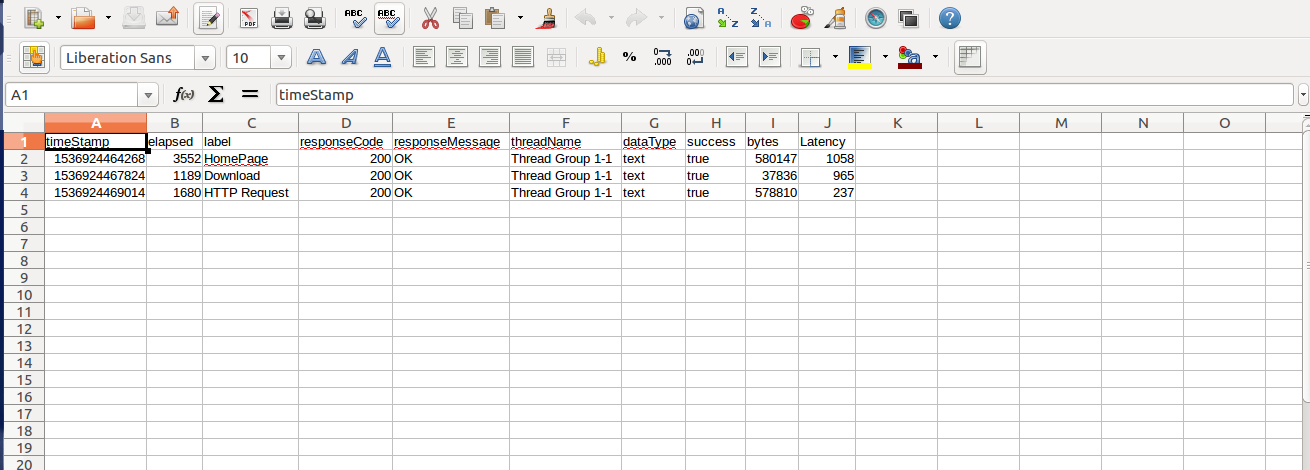
After opening this CSV file, anyone can understand the response from the server. And it is very understandable by the client also. Sometimes we have the non-technical client who does not understand the response in XML formal, JMX format. So this is a very impressive way to represent the result. And this emailable also.
Few things to remember while generating result:
i) Test Plan should be saved.
ii) File Name should be .csv Format.
iii) When you write the command in the terminal(in my case) you have to write your test plan location which will be in .jmx file format.
Conclusion: Here I just used a random website. You can increase the number of threads by 50 /100/1000 as much you can. And check the response of that in the listeners as well. But this .csv file you can send it to the client or manager.
I Hope you like this blog. Thanks


Request for Proposal
Cookies are important to the proper functioning of a site. To improve your experience, we use cookies to remember log-in details and provide secure log-in, collect statistics to optimize site functionality, and deliver content tailored to your interests. Click Agree and Proceed to accept cookies and go directly to the site or click on View Cookie Settings to see detailed descriptions of the types of cookies and choose whether to accept certain cookies while on the site.


About Author
Nargis Khan
Nargis is certified in Manual Testing , she has done B.Tech in computer science. Her Hobbies are reading books & listening music.