How To Capture Screens In Selenium Web Driver
Posted By : Nargis Khan | 29-May-2018
Today we will discuss how to take the screenshot in selenium web driver. I will explain with the example. There is a site called “Disqus” so let start. I will take screenshot from using this website.
Why Screenshot is required in selenium
The screenshot is helped us to understand the flow of application whether our application behaving correctly or not. It helps us a lot while doing cross-browser testing. It is good practice that takes screen in each step to identifying bug or defect easily in the app.
Open the browser and enter the https://disqus.com.
After opening the site just click on the “Get Started” link or button. In this step, we will take the screenshot. let's implement that:
For taking screenshot selenium provide the interface called "TakesScreenshot". In this Interface, we will use one method called "getscreenshotAs". This will help to capture entire screenshot in the form of a file. After that using FileUtils we can copy the screenshot from one location to other location.
package takeScreenshot;

import java.io.File;
import java.io.IOException;

import org.apache.commons.io.FileUtils;
import org.openqa.selenium.By;
import org.openqa.selenium.OutputType;
import org.openqa.selenium.TakesScreenshot;
import org.openqa.selenium.WebDriver;
import org.openqa.selenium.chrome.ChromeDriver;
import org.testng.annotations.AfterMethod;
import org.testng.annotations.BeforeMethod;
import org.testng.annotations.Test;


public class Screenshotwedpage {

	WebDriver driver=new ChromeDriver();

	@BeforeMethod
	public void set(){


		// TODO Auto-generated method stub
		System.setProperty("webdriver.chrome.driver", "/home/nargis/Downloads/chromedriver");
		driver.get("https://disqus.com");
		driver.manage().window().maximize();
		driver.manage().deleteAllCookies();

	}

	@Test
	public void screenshot() throws IOException {


		driver.findElement(By.xpath("//a[text()='Get Started']")).click();

		// Take screenshot and store as a file format

		File src;
		src  = ((TakesScreenshot)driver).getScreenshotAs(OutputType.FILE);

		FileUtils.copyFile(src, new File("/home/nargis/Desktop/ScreenShorts/TakesScreenshot/screenshot.png"));

		System.out.println("Screenshot capture successfully");

	}

	@AfterMethod
	public void close(){
		driver.quit();
	}
}
If you use above code then it will store the screenshot in location:/home/nargis/Desktop/ScreenShorts/TakesScreenshot/screenshot.png. you change your location according to our location and image name is screenshot.png.
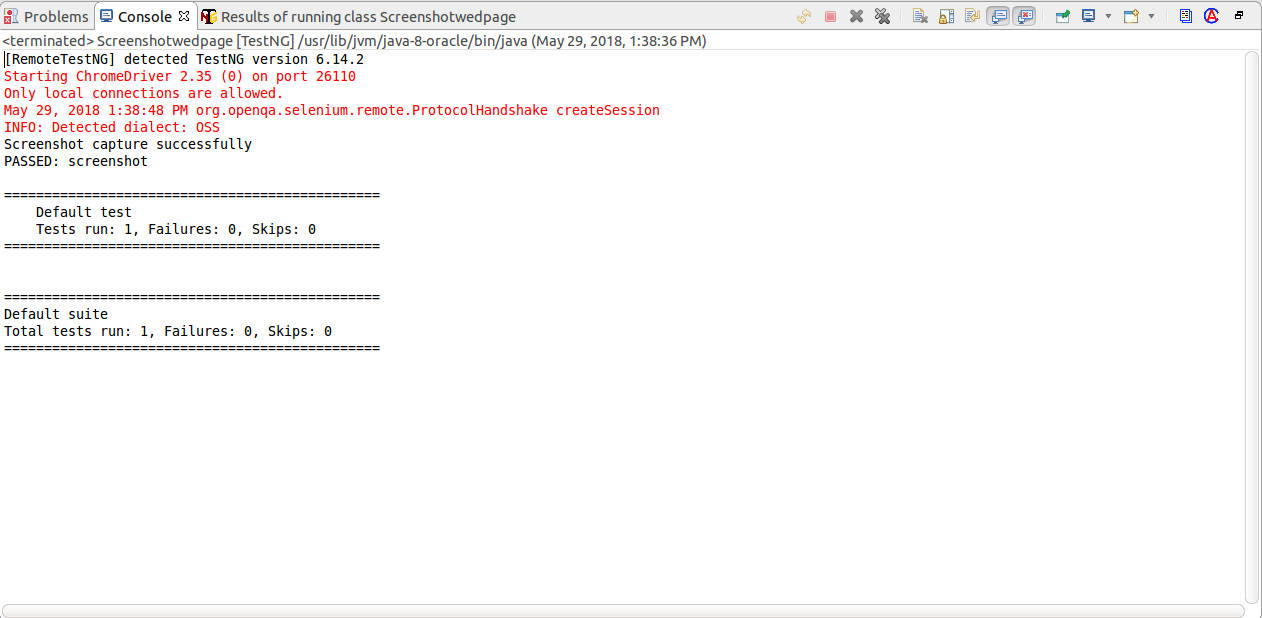
Result: You can see the result in form of TestNg and it is successfully executed.
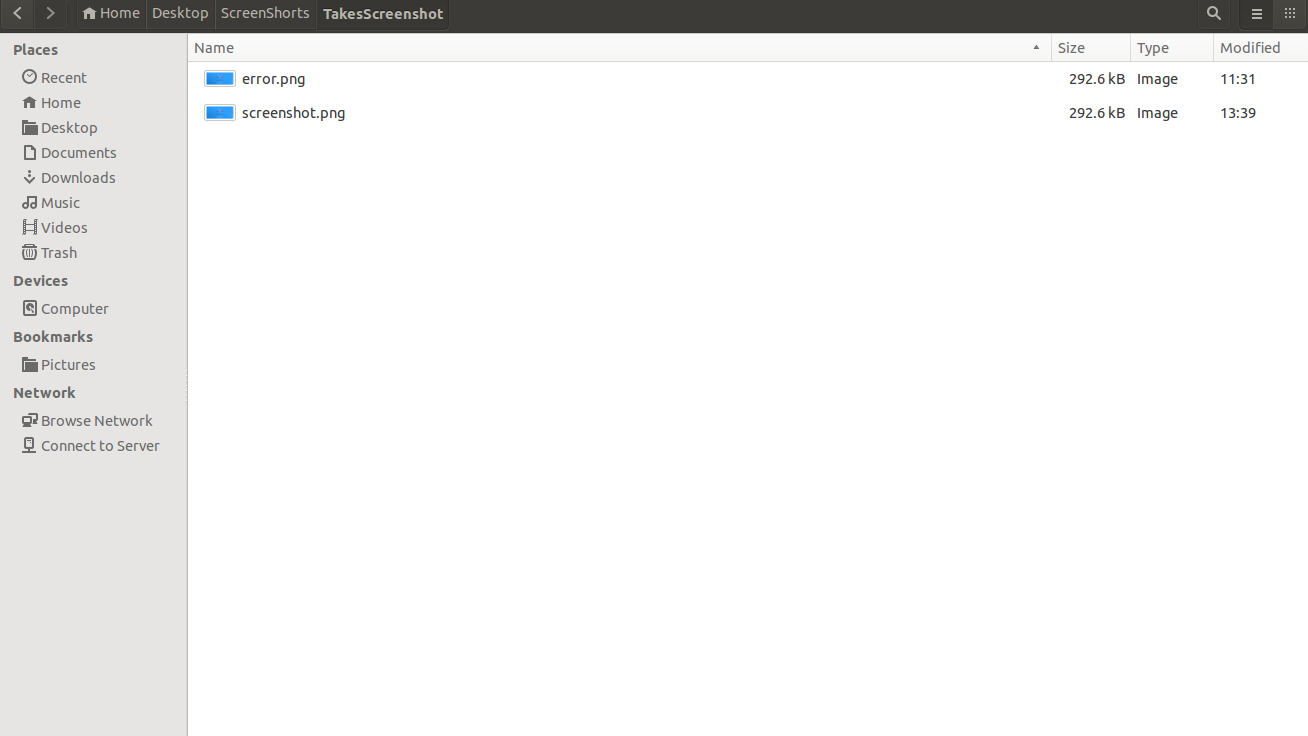
Result: Screenshot saved in my location:
Thanks hope you like it.


Cookies are important to the proper functioning of a site. To improve your experience, we use cookies to remember log-in details and provide secure log-in, collect statistics to optimize site functionality, and deliver content tailored to your interests. Click Agree and Proceed to accept cookies and go directly to the site or click on View Cookie Settings to see detailed descriptions of the types of cookies and choose whether to accept certain cookies while on the site.


About Author
Nargis Khan
Nargis is certified in Manual Testing , she has done B.Tech in computer science. Her Hobbies are reading books & listening music.