Swagger 2 In Spring Boot API Based Application
Posted By : Gaurav Kumar | 09-Mar-2021
Swagger is an open-source framework for SaaS application development Company that enables developers to design, build, and deploy RESTful web applications. It incorporates a full-fledged toolset that provides support for automated documentation, code generation and software testing services. In this blog, I are going to implement Swagger 2 into a spring boot web application.
Table of content
- What is Swagger?
- Implementing a spring boot API using swagger
Swagger has a vast set of tools for APIs development. It is a tool to achieve the following:
- Develop APIs
- Interact with APIs
- Document APIs
The third one i.e. documenting APIs given swagger a lot of popularity. It is an excellent tool to document APIs. The most popular tool to do the same using something called swagger UI.
In this blog, we are focusing on the third one. We are going to implement a spring boot APIs and it's documentation using Swagger UI.
But there are some of the questions that should be answered before diving in deeper.
Why we need tools to document an API?
The answer to the above question is pretty much simpler when someone builds an API and some other user is going to consume that particular API, then consumer needs to know all the endpoints, payload required to access those endpoints, what is the response code, error code they get from APIs and all. One way is to simply ask the API developer about all the mentioned question and the other way is to create a document mentioning all these stuff and handed over to the consumer, that will provide all the answers to the consumers pretty simple right! But why we need tools for that we can do it manually these things while creating the API, of course, it will take some more effort of API developer rather than the actual development of API. But think of a situation when the developer came up with some ideas or changes in API like response structure, or they may be increases the endpoints (in short any kind of updating in existing API).
Now there is a need for updating in existing documentation as well. In agile development updation is a continuous process (you can deny about it), so updating every time the API document will become more frustrating. Swagger plays a vital role at that point. You just need to pay attention to your APIs changes and the rest of the things related to documentation will be taken care of about the Swagger UI tool.
In traditional API development methodology, we have corresponding documentation tools as well for example SOAP has WSDL for documentation, unfortunately, REST has no documentation tool.
Swagger allows you to create auto-generated documentation for your APIs based on the metadata you provided. It will keep your documentation in sync with your API.
Swagger dependency can be linked in any language to develop APIs in that particular language.
Here I am going to spring implementation of swagger using Swagger 2 spring dependency.
Adding Swagger to Spring Boot involves these simple steps
- Get a basic spring boot application skeleton from spring initializer
- Getting the Swagger 2 spring dependency
- Enable Swagger in your code
- Configuring Swagger (optional )
- Adding details as an annotation to APIs (optional )
Get an empty spring boot application skeleton from spring initializer with web dependency, and import it into eclipse or STS or Intellij IDEA.
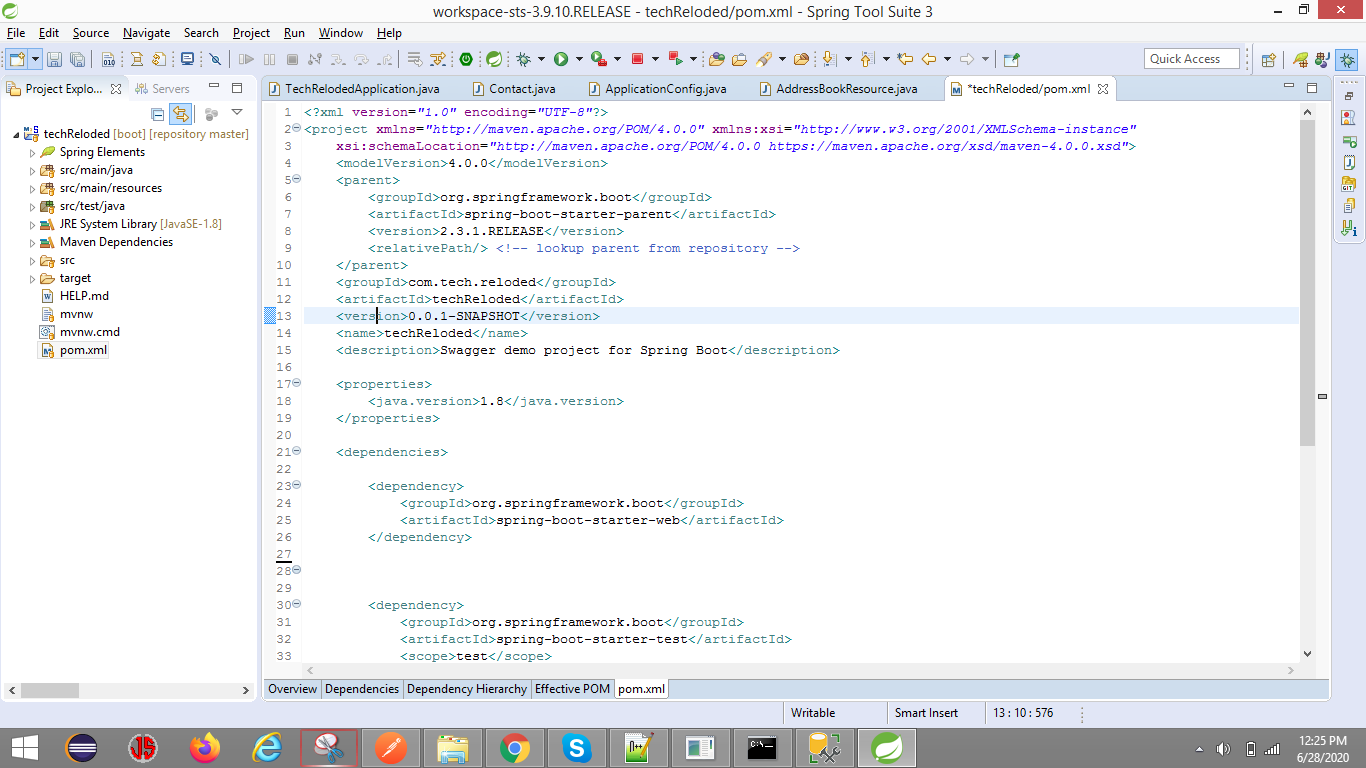
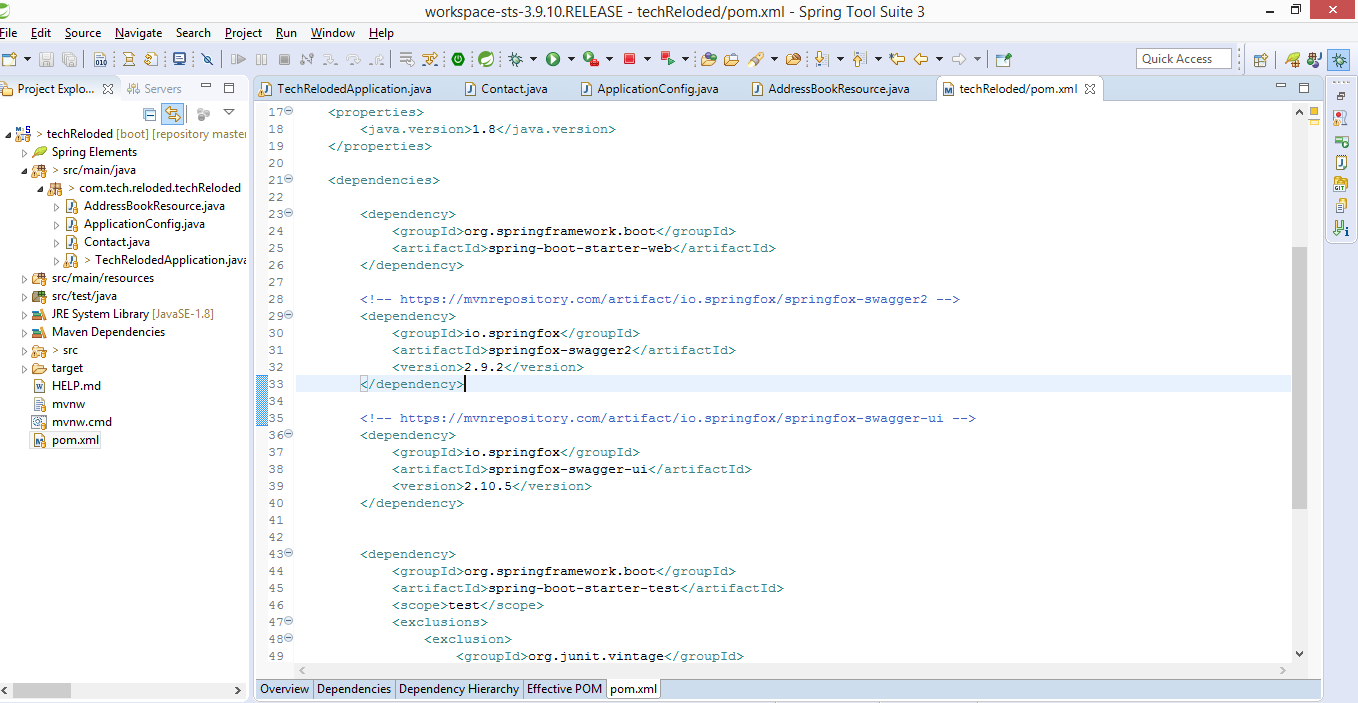
Next, add Swagger 2 dependencies into pom.xml.
<!-- https://mvnrepository.com/artifact/io.springfox/springfox-swagger2 -->
 <dependency>
   <groupId>io.springfox</groupId>
   <artifactId>springfox-swagger2</artifactId>
   <version>2.9.2</version>
 </dependency>
Here, we are going to create very basic api to store and retrieve address book data with three endpoints.
- addContact : adding new contact by passing allowed payload.
- getAllContact : getting all contacts from memory.
- getContact : get the desired contact by passing id of contact.
So, first thing first, create modal for contacts and controller to handle these API calls.
I kept three attributes id, name, and phone into my Contact Modal.
Contact.java
 package com.tech.reloded.techReloded;
 /**
  * The Class Contact.
  */
 public class Contact {
      /** The id. */
      private String id;
      /** The name. */
      private String name;
      /** The phone. */
      private String phone;
      /**
       * Gets the id.
       *
       * @return the id
       */
      public String getId() {
           return id;
      }
      /**
       * Sets the id.
       *
       * @param id the new id
       */
      public void setId(String id) {
           this.id = id;
      }
      /**
       * Gets the name.
       *
       * @return the name
       */
      public String getName() {
           return name;
      }
      /**
       * Sets the name.
       *
       * @param name the new name
       */
      public void setName(String name) {
           this.name = name;
      }
      /**
       * Gets the phone.
       *
       * @return the phone
       */
      public String getPhone() {
           return phone;
      }
      /**
       * Sets the phone.
       *
       * @param phone the new phone
       */
      public void setPhone(String phone) {
           this.phone = phone;
      }
 }
AddressBookController.java
 package com.tech.reloded.techReloded;
 import java.util.ArrayList;
 import java.util.List;
 import java.util.concurrent.ConcurrentHashMap;
 import org.springframework.web.bind.annotation.GetMapping;
 import org.springframework.web.bind.annotation.PathVariable;
 import org.springframework.web.bind.annotation.PostMapping;
 import org.springframework.web.bind.annotation.RequestBody;
 import org.springframework.web.bind.annotation.RequestMapping;
 import org.springframework.web.bind.annotation.RestController;
 /**
  * The Class AddressBookResource.
  */
 @RestController
 @RequestMapping("/api")
 public class AddressBookController {
      /** The contacts. */
      ConcurrentHashMap<String, Contact> contacts = new ConcurrentHashMap<>();
      /**
       * Gets the contact.
       *
       * @param id the id
       * @return the contact
       */
      @GetMapping("/{id}")
      public Contact getContact(@PathVariable String id) {
           return contacts.get(id);
      }
      /**
       * Gets the all contact.
       *
       * @return the all contact
       */
      @GetMapping("/")
      public List<Contact> getAllContact(){
           return new ArrayList<Contact>(contacts.values());
      }
      /**
       * Adds the contact.
       *
       * @param contact the contact
       * @return the contact
       */
      @PostMapping("/")
      public Contact addContact(@RequestBody Contact contact) {
           contacts.put(contact.getId(), contact);
           return contact;
      }
 }
Now, run the main class by right-clicking as choose run as a Java application and access this URL form postman (or from the browser ) http://localhost:8080/api/
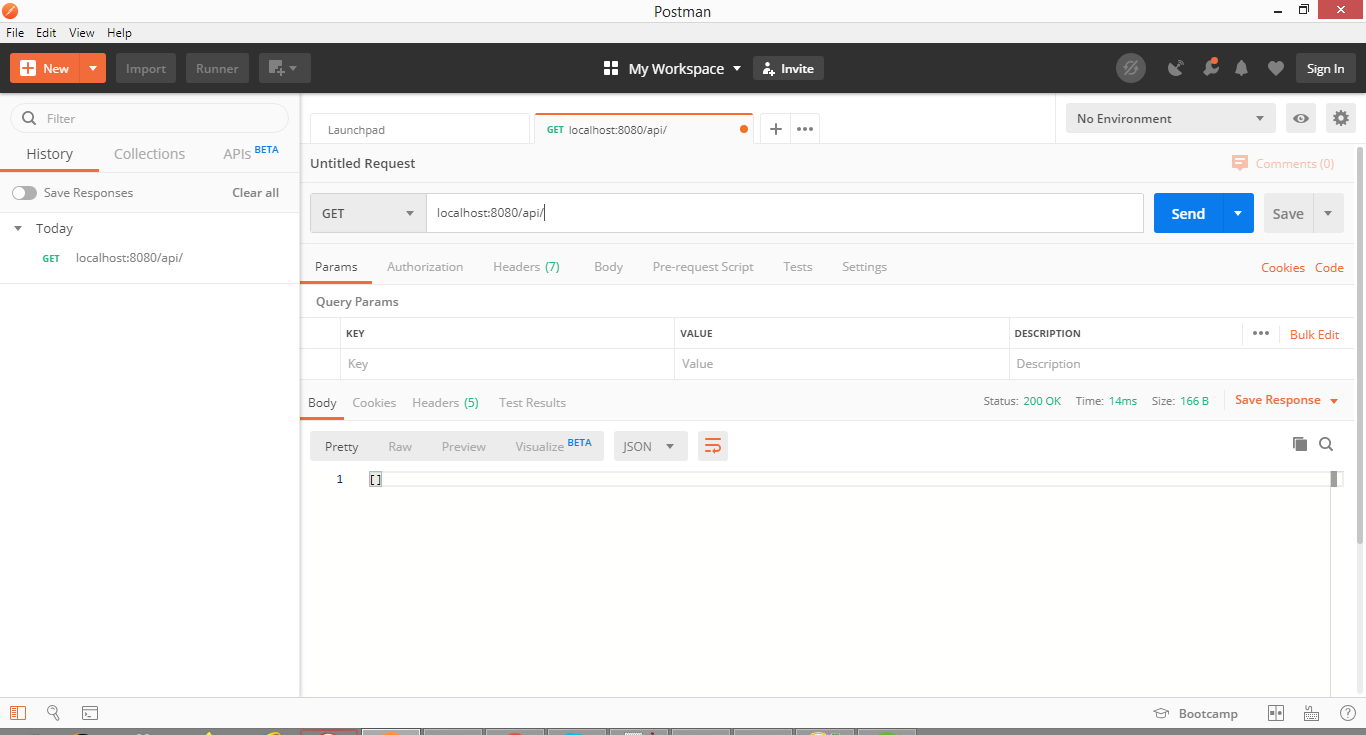
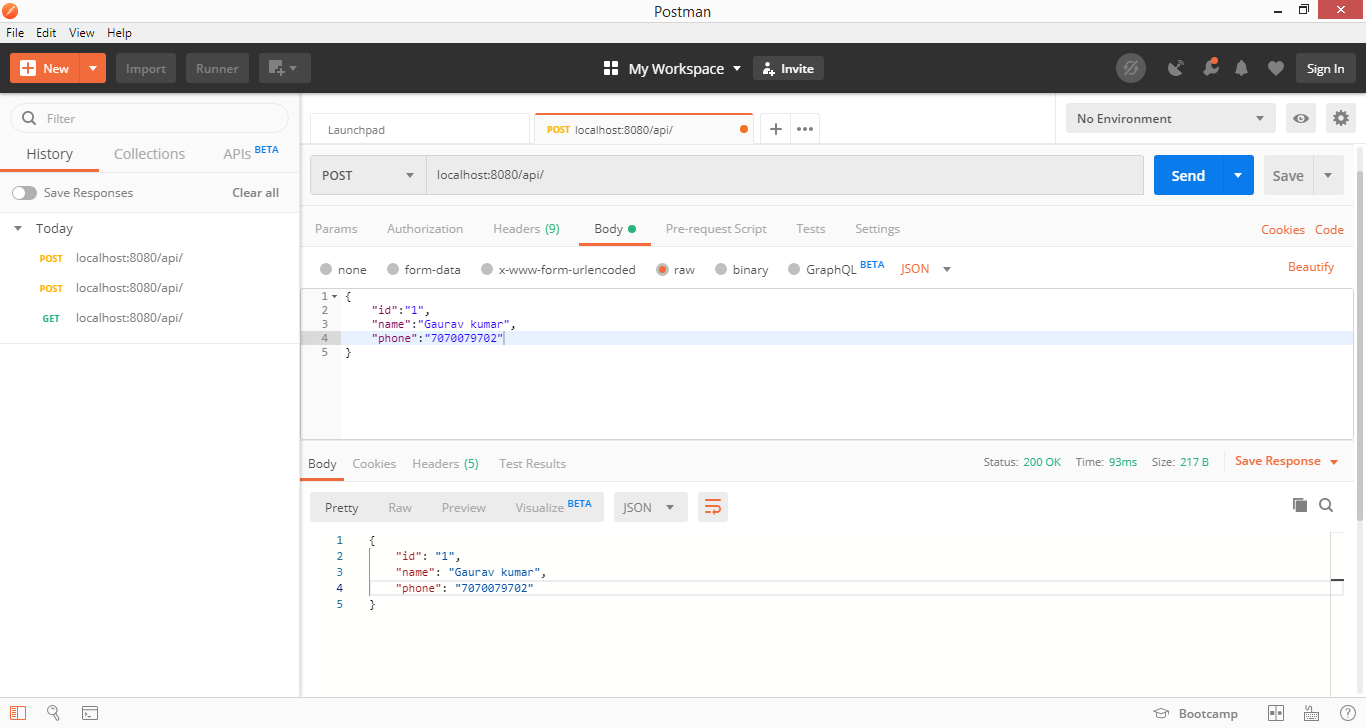
So, your API is up and running now. Add some entries by providing formatted payload to the same API in POST.
{
      "id":"1",
      "name":"Gaurav kumar",
      "phone":"707079702"
}
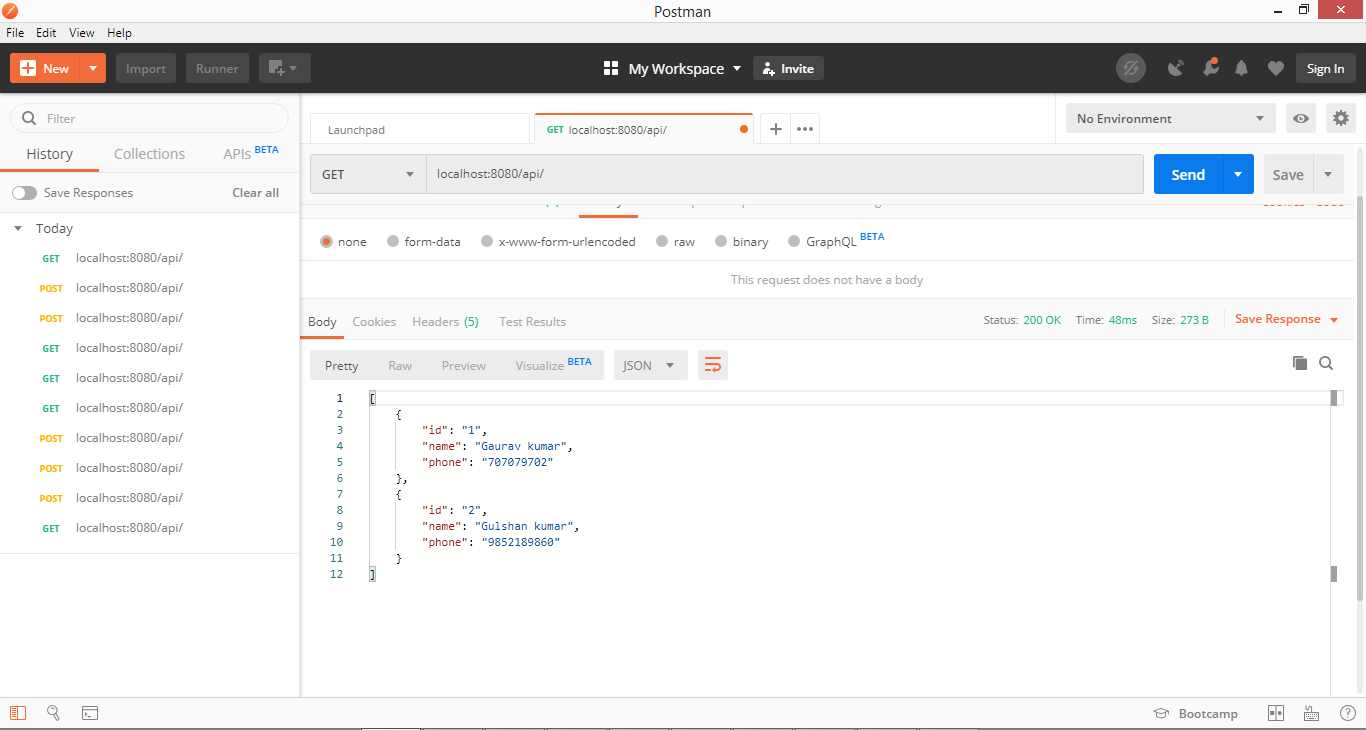
Get call to display all contacts :
Now add the second dependency to out pom.xml i.e. Swagger UI dependency.
 <!-- https://mvnrepository.com/artifact/io.springfox/springfox-swagger-ui -->
 <dependency>
      <groupId>io.springfox</groupId>
      <artifactId>springfox-swagger-ui</artifactId>
      <version>2.10.5</version>
 </dependency>
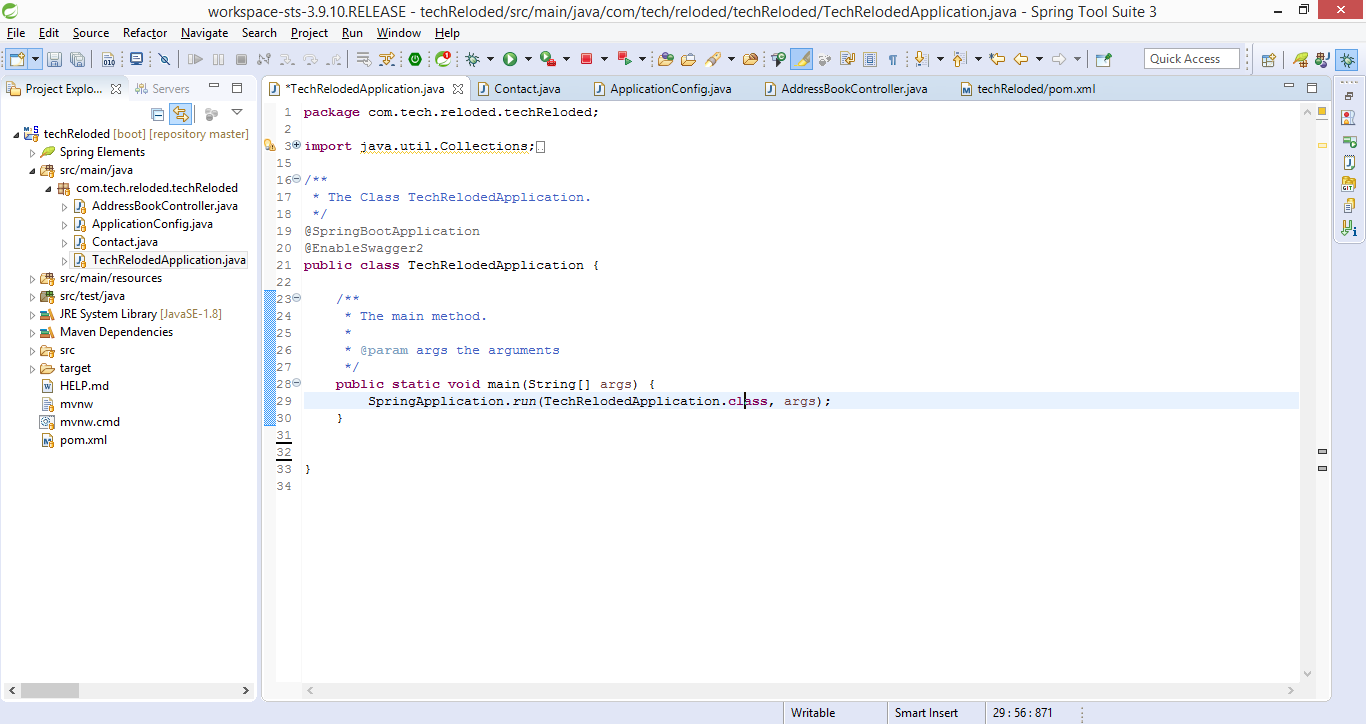
Enable swagger ui in your main class by adding annotation @EnableSwagger2
Now, access this URL to view your auto-generated API documentation :
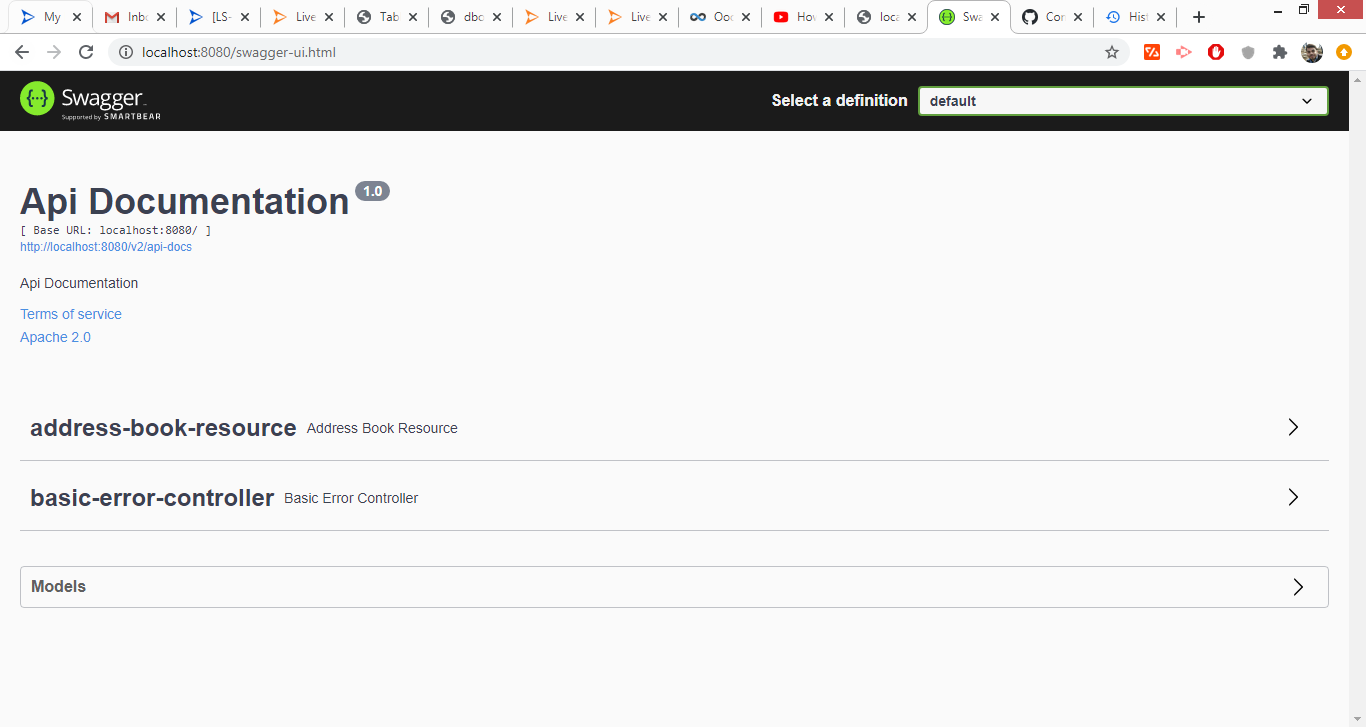
You can also find JSON based API documentation on the link : localhost:8080/v2/api-docs
The source code used in this blog can be found at: source code
We are SaaS app development company that specializes in providing full-scale web development and quality assurance services. Our development team is skilled at using agile development methodologies and advanced tools to build high-quality web and mobile applications. We have successfully completed several SaaS application development projects for startups, SMEs, and large-scale enterprises. For project-related queries, drop us a line at [email protected].
Our Other Services Like
Mobile App Development Services
#SaaSApplicationDevelopment #SaaSAppDevelopmentCompany #QualityAssuranceServices #SoftwareTestingServices


Cookies are important to the proper functioning of a site. To improve your experience, we use cookies to remember log-in details and provide secure log-in, collect statistics to optimize site functionality, and deliver content tailored to your interests. Click Agree and Proceed to accept cookies and go directly to the site or click on View Cookie Settings to see detailed descriptions of the types of cookies and choose whether to accept certain cookies while on the site.


About Author
Gaurav Kumar
He is always ready to grasp new tech and tools as per project requirement.