Jenkins Pipeline
Posted By : Aquib Ahamad | 18-Dec-2020
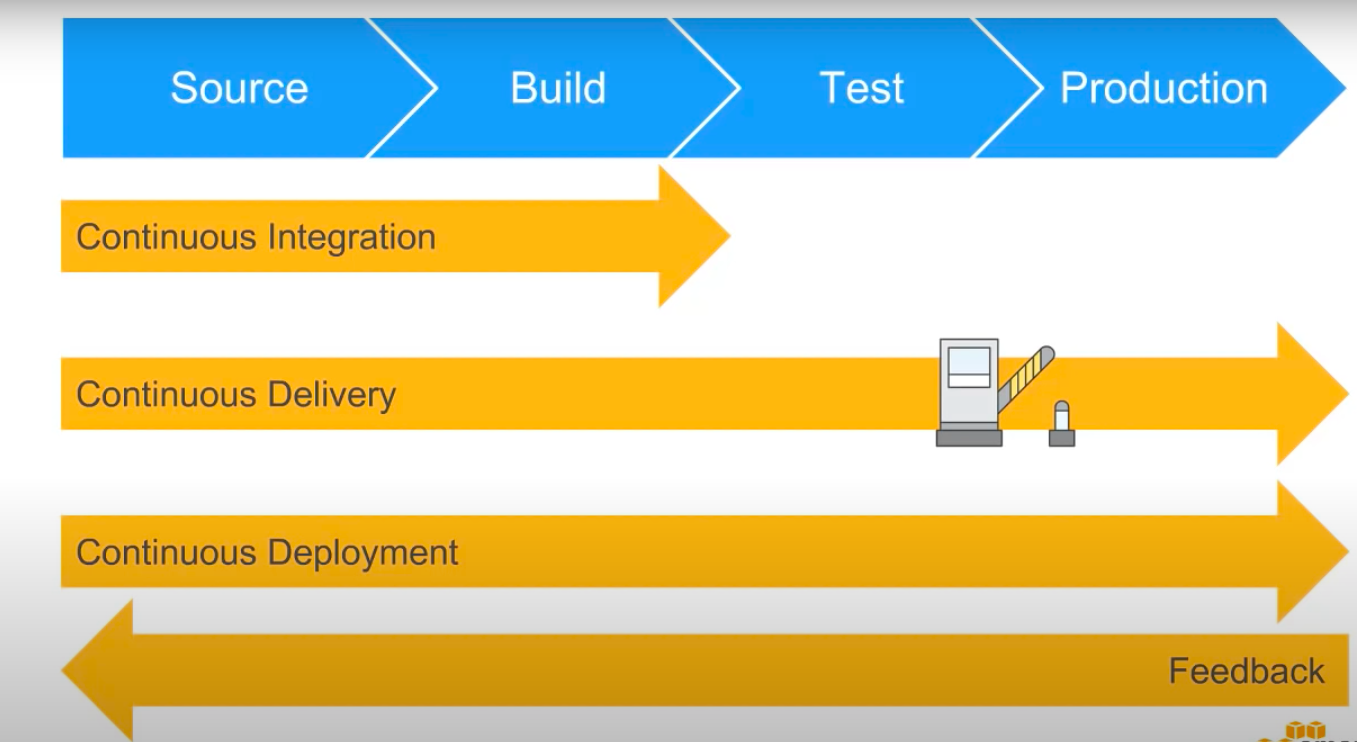
What is CI CD Pipeline?
CI means Continuous Integrations and CD means Continuous Delivery and Continuous Deployments. The below image shows how SDLC work for DevOps.
Jenkins — The Ultimates CI Tools and Its Importance in CI-CD Pipeline
In this blog, we will try to automate entires Deployments with the help of Jenkins pipeline, Jenkinsfile using docker
The whole developments cycle will be based on the DevOps model with the help of DevOps tools as well
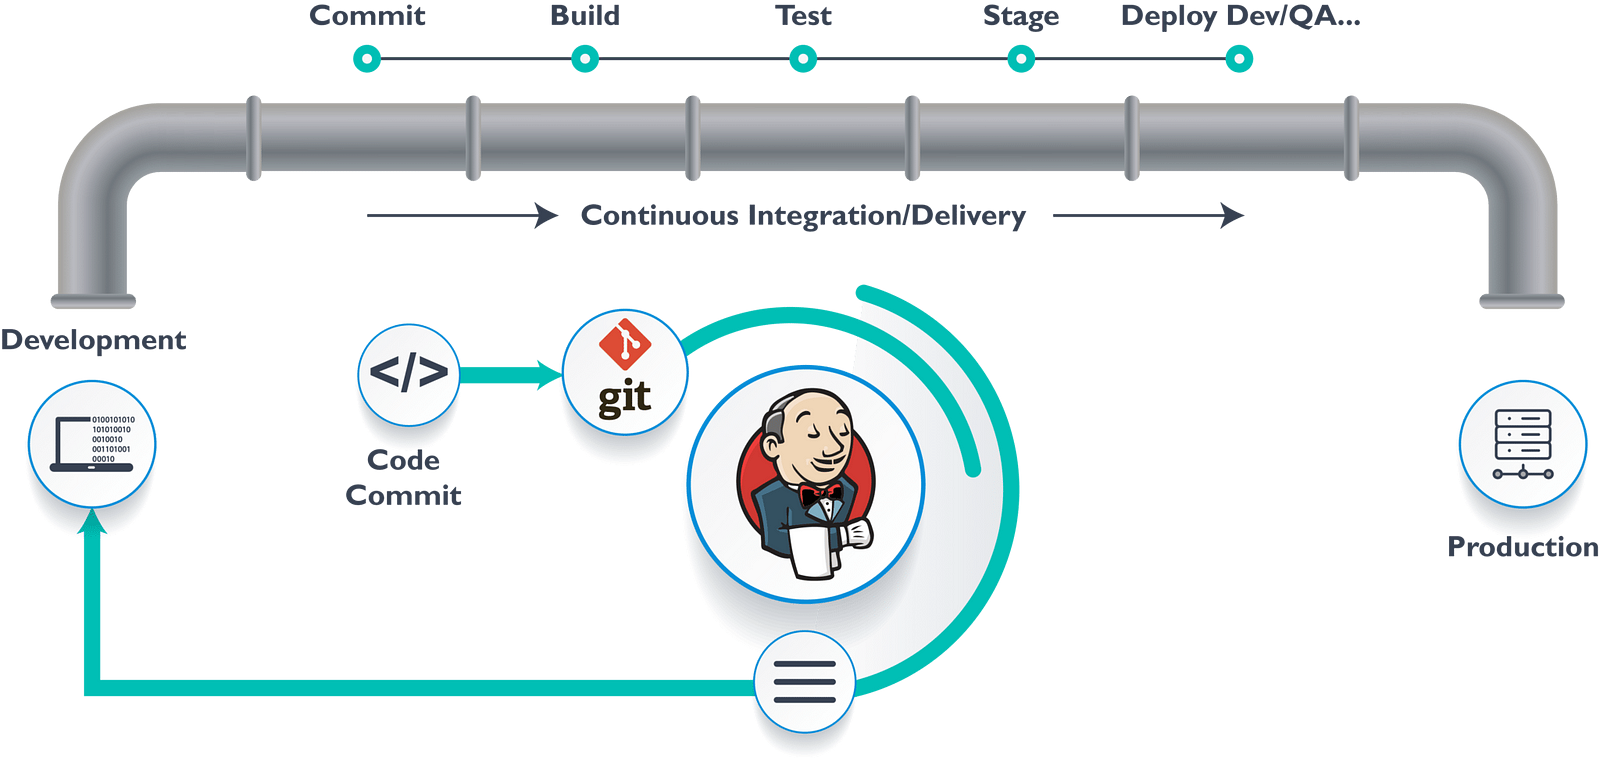
Jenkins provides us with various interfaces and tools in order to automate the entires process.
1-We will create a GIT repository or use an existing one
2- Dev team have the responsibility to commits the code to dev_branch
3- Jenkins will fetch the codes from Github and will map with the jobs enabled for a specifics task
4- We will make sure that CI and CD is done for the job/tasks
5- Jenkins will pull the code and will enter the commits phases of the task
6-Jenkins then will compiles code and its called builds phases of the task
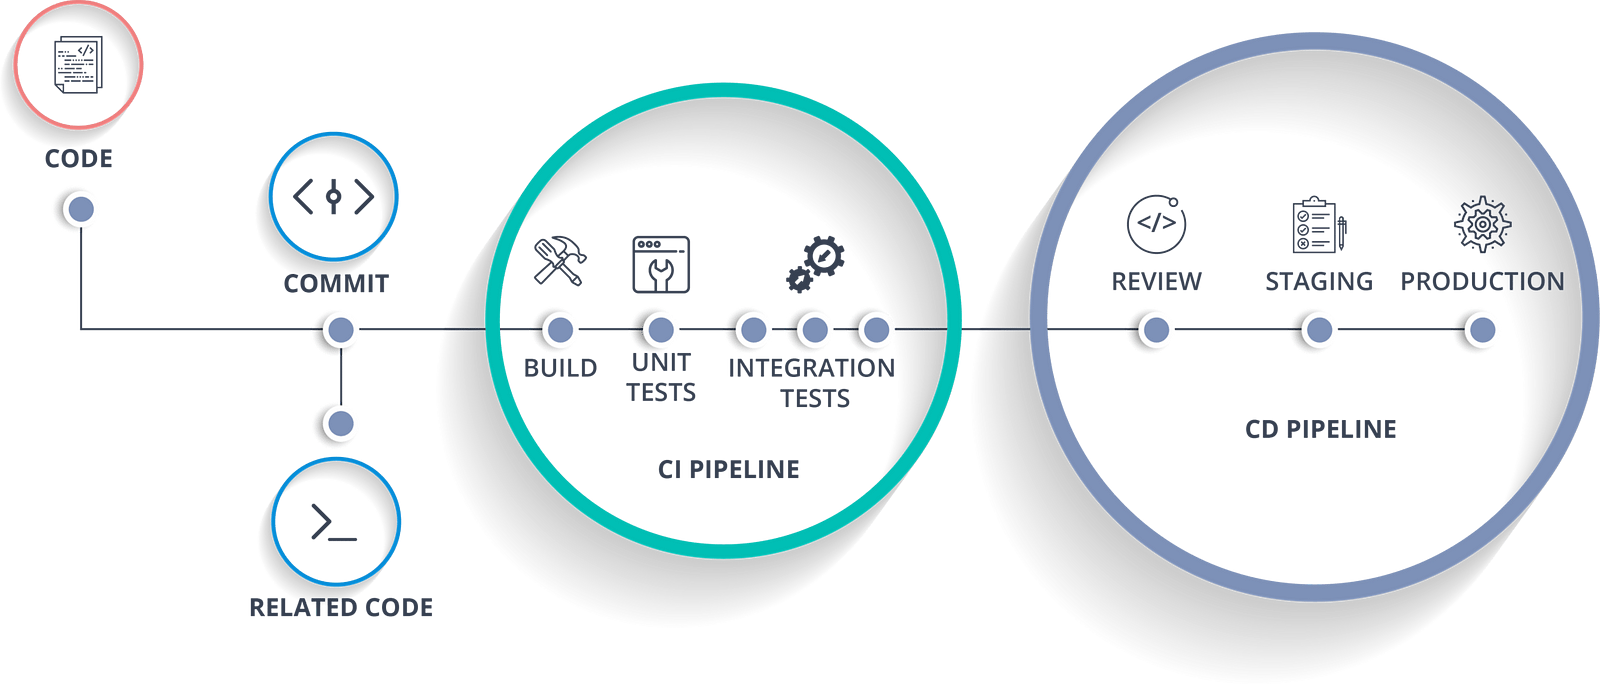
7-The code is deployed by Jenkins after the code will merging to the Master's branch by the DevOps team and the job will start for a specifics application
8-The code is ready to be deployed and enters the deployments phase cycle
9-The code afters deployed from Jenkins then get deployed to the servers using docker container
10-After the code is working fine in the staging server with unit testing, the Same code then is deployed on the production servers
With all the above 10 steps, Jenkins is responsible for the delivery phase with automating the deployments
DOCKER
Docker is simply sorted of virtual surroundings within which we will produce a server.
It will take a couple of seconds to make a whole server and deploy the artifacts that we wish to check.
Also Read: Docker Containerization Using Docker Compose
Why do we use docker?
As the same earlier, you’ll run the whole clusters in a very few seconds. We have storage for GitHub registry for when you have to deploy builds your image and store it forever. you’ll use it anytime in any settings which may be replicate itself.
Hands-On-Lab:
Buildings CI CD Pipeline Using Jenkins and dockers
Step 1: In your Terminals or CLI, Start and enable Jenkins and docker
systemctl start jenkins
systemctl enable jenkins
systemctl start docker
Step 2: In your Jenkins console click on New Item from where you will create your first jobs.
Step 3: After you click on New Item, You have need to choose an options freestyle projects with name and
saves
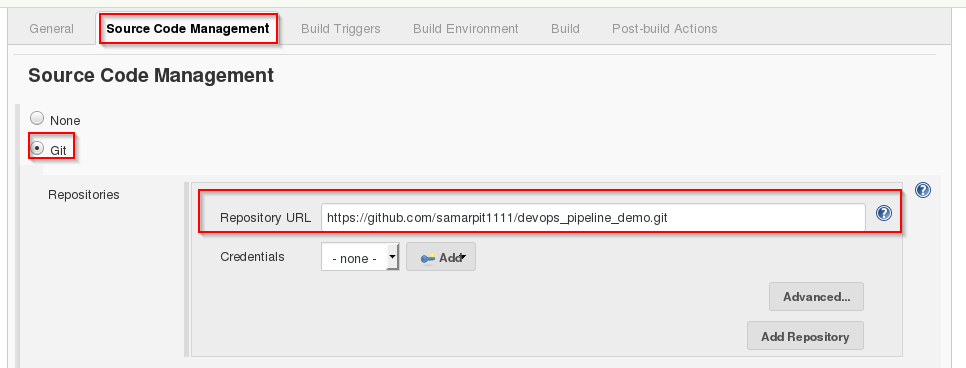
Step 4: In the configurations section select SCM and you will have to add the git repo link and save it.
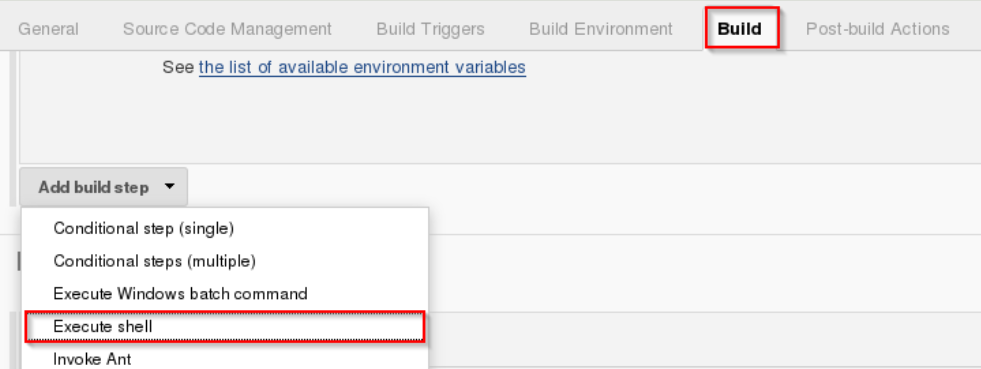
Step 5: Then you will select Build option and choose to Executes shell
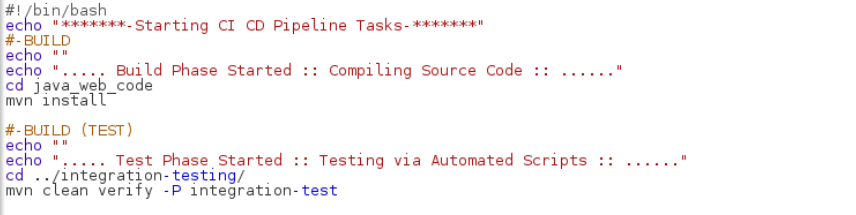
Step 6: Provide the shell commands. Here it’ll build the archive file to induces war files. After that, it’ll get the codes that already force then its use wizo put in the package. So, it merely installs the dependencies and compiles the applying.it
Step 7: Similarly you will create a new job as before.
Step 8: Click on the .freestyle project and saves it with the proper name.
Step 9: Repeat Again step 4, In the configuration when you have select the section of scm and then you will be add the git repositoryink and save it.

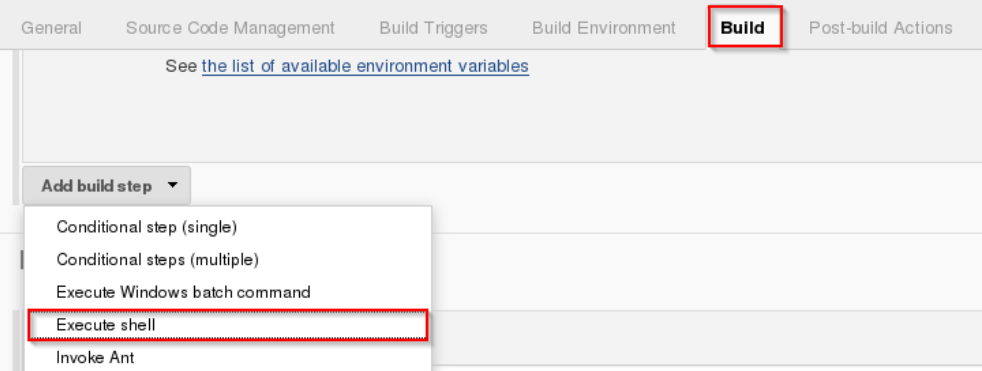
Step 10: Repeat step 5, You will have to select the Build option and choose to Execute shell
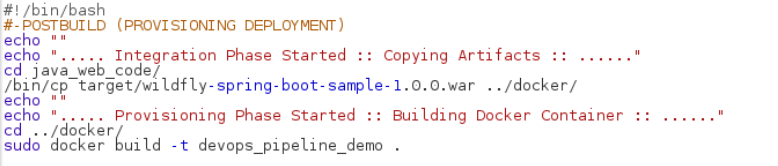
Step 11: Now You will be the write shell of modules and the CMD for int phase and you can build for the container.
Step 12: Again you will create a new job as before in the previous steps.
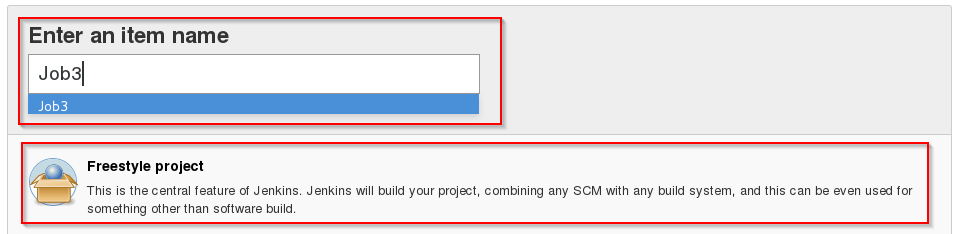
Step 13: Selects the freestyles projects and you provide the items name (here I have given Job3) and clicks on ok
Step 14: Agains the repeat step 4, In the configuration sections select scm and you will be adding the git repository links and saves it.

Step 15: Again Repeat step 10, You will select Build options and choose to Executes shells.

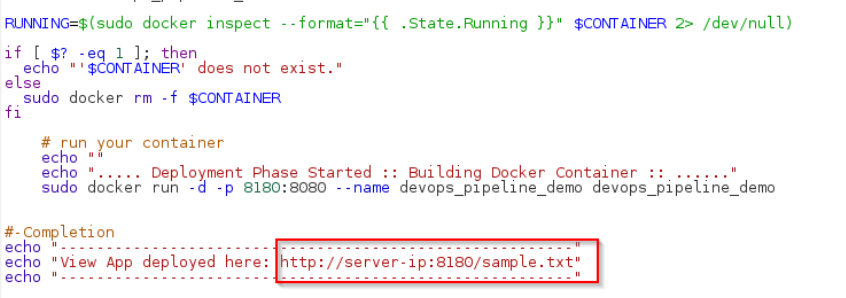
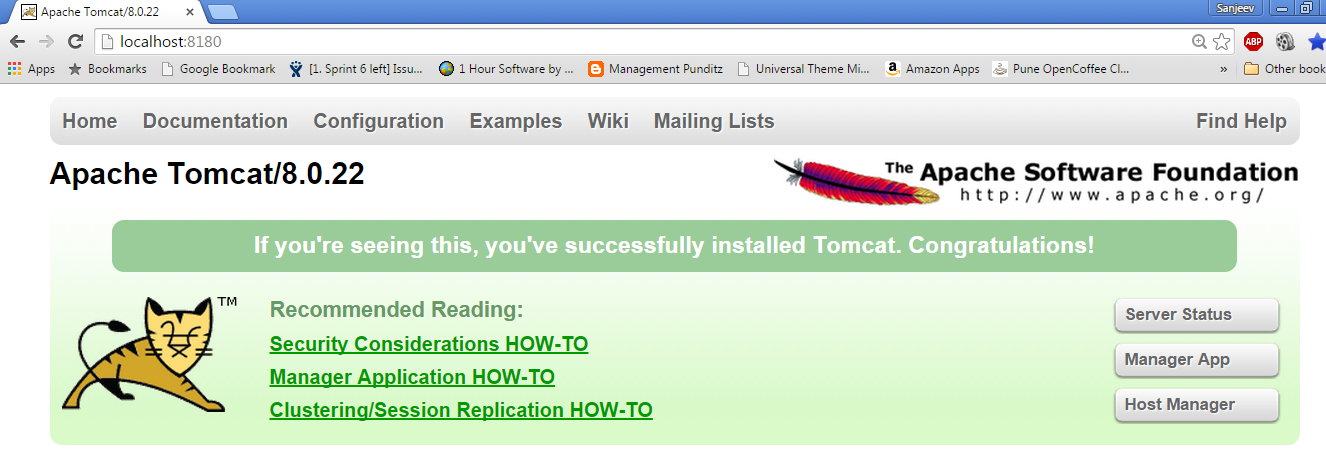
Step 16: Write the shell commands, Now it will verify the containers files and the deployments will be done on a port
8180, save its
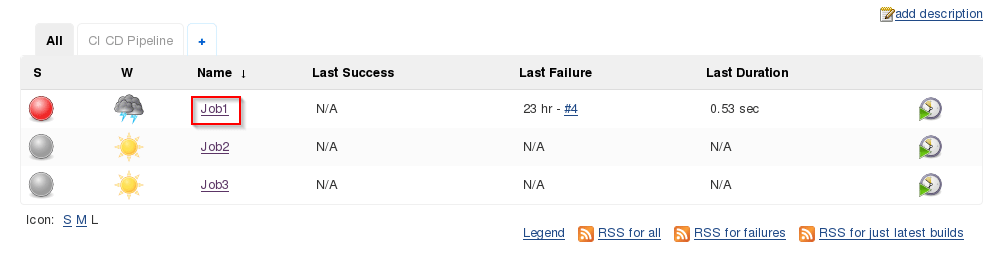
Step 17: Now, you will have to choose job 1 and clicks on configures.
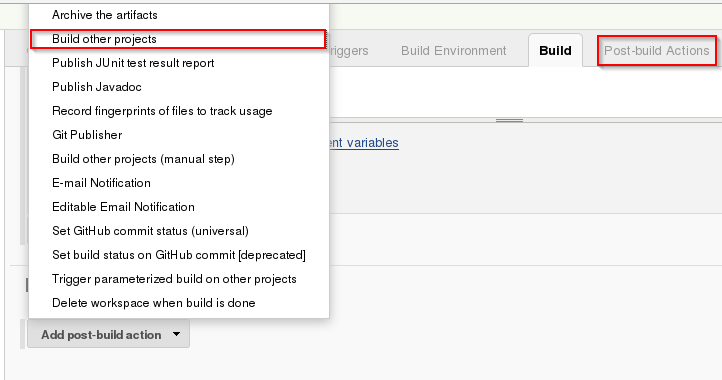
Step 18:From the builds actions, You will choose posts-build and clicks on build other projects
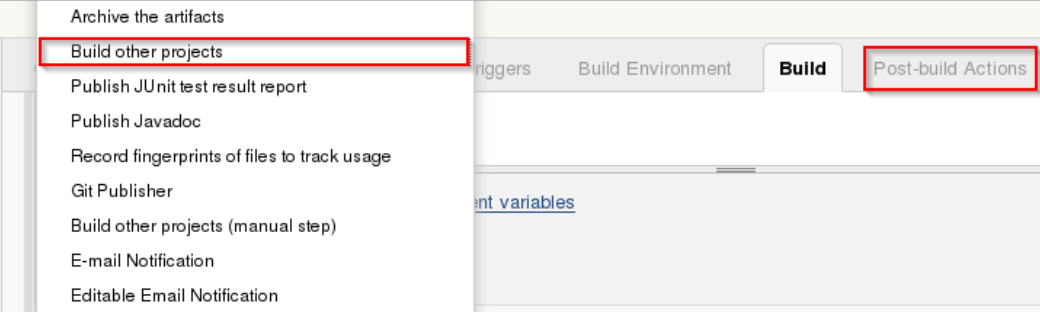
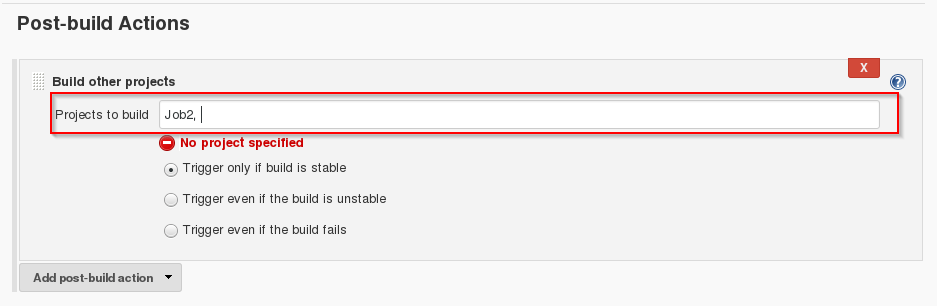
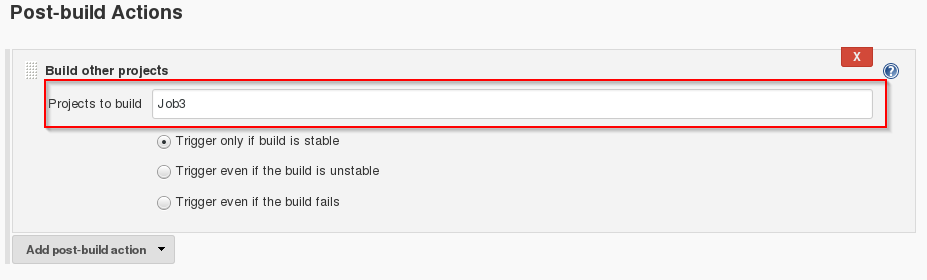
Step 19: You will need to provide the name of the projects to builds after job 1 and then click save
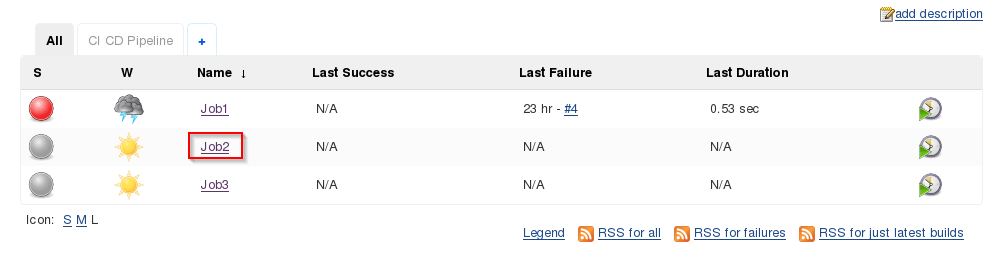
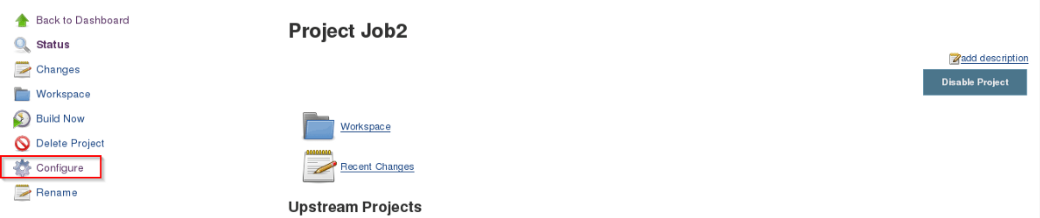
Step 20: Now, you will have to choose jobs 2 and click on configures.
Step 21: From the build actions, You will choose post-build and click on builds others project
Step 22: You will need to provide the names of the project to build afters job 2 and then click saves
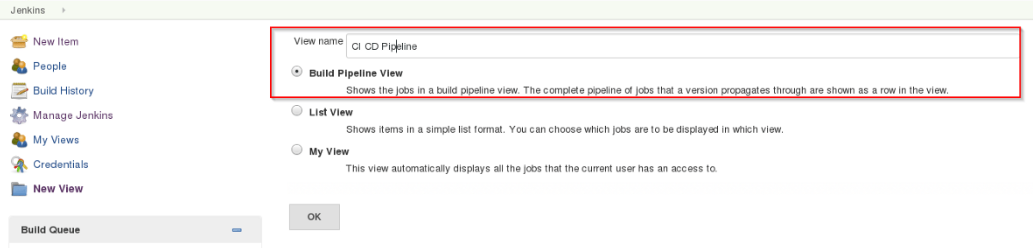
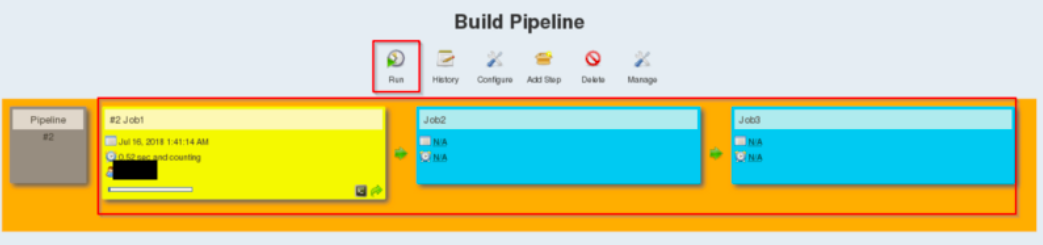
Step 23: Let's create a pipeline, by adding to + sign

Step 24: Now, you will choose and selects a build Pipelines view and add the names
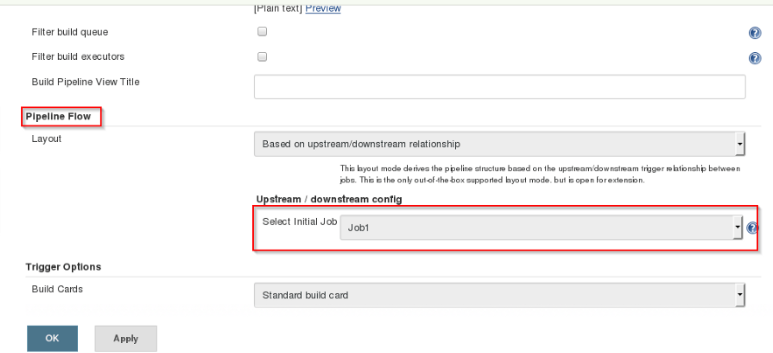
Step 25: Choose Jobs 1 and saves OK
Step 26: Let's RUN it and start the CICD process now
Step 27:After you build the jobs, To verify open the link in your browser localhost:8180/sample.text, This is the port
where your app is running.
We, at Oodles Technologies, nurture experienced developers who are skilled at using container tools like Docket, Kubernetes, Apache Kafka, and Spring Boot to build and deploy microservice-based applications. Explore our DevOps services and learn about our offerings in microservice-based application development. For project-related queries, contact us at [email protected].


Cookies are important to the proper functioning of a site. To improve your experience, we use cookies to remember log-in details and provide secure log-in, collect statistics to optimize site functionality, and deliver content tailored to your interests. Click Agree and Proceed to accept cookies and go directly to the site or click on View Cookie Settings to see detailed descriptions of the types of cookies and choose whether to accept certain cookies while on the site.


About Author
Aquib Ahamad
He has good knowledge of RHCSA and RHCE and Aws git and bigdata. He is a quick learner who is always looking to learn new technologies