How to use Core Data with your Swift App
Posted By : Manu Gupta | 18-Mar-2015
Core data is provided by the Apple to be used in their applications as a way to store data rather Objective-C or Swift. Core Data is faster than SQLite and a efficient way to manage the data in your app. No doubt that core data uses SQLite as a backing engine.
Core data has a very vast scope rather than just managing the database. That we will explore later but for now we will just focus on basic inserting and retrieving of data from your core data.
- Create a new project with Swift as the language, and enabling the Core Data. My project name will be CoreData

- You’ll see that Xcode has produced an additional file named CoreData.xcdatamodeld.
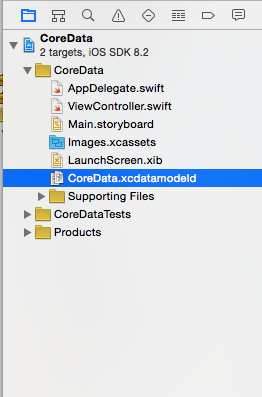
- Open up this file and you will find the core data model editor.
- After that add the entity and rename it to Transactions follow the marks on the image below
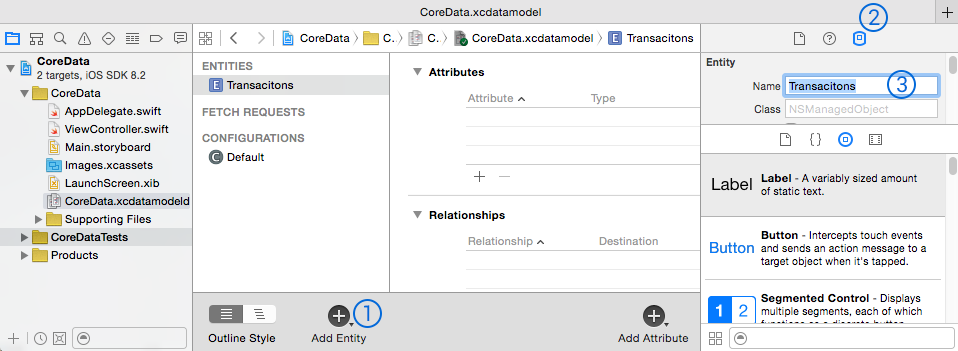
- Now after that add the attributes in your entity "Transaction"

- We have successfully created the “Transactions” entity. Now in the menu bar go to Editor->Create NSManagedObject Subclass. In the first prompt check on CoreData model click next and after that check on Transactions entity. You will see that a swift file will be created by your Xcode template names Transactions.swift .
- When you open Transactions.swift file you will find the below written code.
import Foundation import CoreData class Transacitons: NSManagedObject { @NSManaged var name: String @NSManaged var age: NSNumber } - Now after that instantiate instance of Transaction entity. Go to your view scontroller and in the viewDidLoadMethod() write this code.
override func viewDidLoad() { super.viewDidLoad() let newItem = NSEntityDescription.insertNewObjectForEntityForName("Transactions", inManagedObjectContext: self.managedObjectContext!) as! LogItem newItem.name = "Manu Gupta" newItem.age = "23" } - Now we have added the newItem in our entity and set both it’s name and age attribute. Let get those values back from coreData.
- Lets fetch our data in viewDidAppear method with the following code.
override func viewDidAppear(animated: Bool) { super.viewDidAppear(animated) // Create a new fetch request using the LogItem entity let fetchRequest = NSFetchRequest(entityName: "Transactions") // Execute the fetch request, and cast the results to an array of LogItem objects if let fetchResults = managedObjectContext!.executeFetchRequest(fetchRequest, error: nil) as? [Transactions] { // Create an Alert, and set it's message to whatever the itemText is let alert = UIAlertController(title: fetchResults[0].name, message: fetchResults[0].age, preferredStyle: .Alert) // Display the alert self.presentViewController(alert, animated: true, completion: nil) } } - In this blog you have created the core data, inserted and fetched back the records. This is the first step to use persistent storage in your application
Thanks and feel free to contact @ [email protected]


Cookies are important to the proper functioning of a site. To improve your experience, we use cookies to remember log-in details and provide secure log-in, collect statistics to optimize site functionality, and deliver content tailored to your interests. Click Agree and Proceed to accept cookies and go directly to the site or click on View Cookie Settings to see detailed descriptions of the types of cookies and choose whether to accept certain cookies while on the site.


About Author
Manu Gupta
Manu is a Native iOS (Swift) and Titanium lead developer . Manu has good experience working with Swift and Alloy framework as well. He loves watching movies and travelling.