Hikvision DVR Desktop Application View With Hikconnet ID
Posted By : Shiv Shankar | 31-May-2018
This tutorial to use Hikvision DVR on Windows and Mac machines, and the decision of Hikvision to introduce more new devices to register on its own DDNS server.
This is a step-by-step guide: How to use Hikvision iVMS-4200 desktop application.
What is iVMS-4200
iVMS-4200 Hikvision is a desktop monitoring application that is available on WIndows and Mac machines, which supports the Hikvision CCTV camera, DVR, HD-TVI CCTV camera, IP camera, NVR etc. Major Features of Hikvision iVMS-4200 Desktop Monitoring Applications include:
Real-time video live view up to 16 channels;
Remote playback of CCTV cameras
PTZ control and CCTV camera movement, pinch to zoom in and out in preview mode;
Support for calibration for preset activation and configuration as well as brightness.
Support snapshots and video recording;
Management up to 256 sets of devices. Device profile can be added / removed / modified.
Integration of Hik-Connect - Hikvision's own P2P service
If you have installed CCTV camera, or IP camera system, and how to use Hikvision CCTV app IVMS-4200 on Windows and Mac machines, please follow the following comprehensive tutorial with image explanation. We will use the Windows machines as an illustration, the workflow is similar to Mac machines.
How to use the Hikvision CCTV app iVMS-4200 on Windows and Mac machines
1.Go to the download the page of hikvision iVMS-4200 for Windows or mac machine from the below link.
https://www.hikvision.com/en/Support/Downloads/Client-Software
2.After downloading is complete, install the app iVMS-4200.
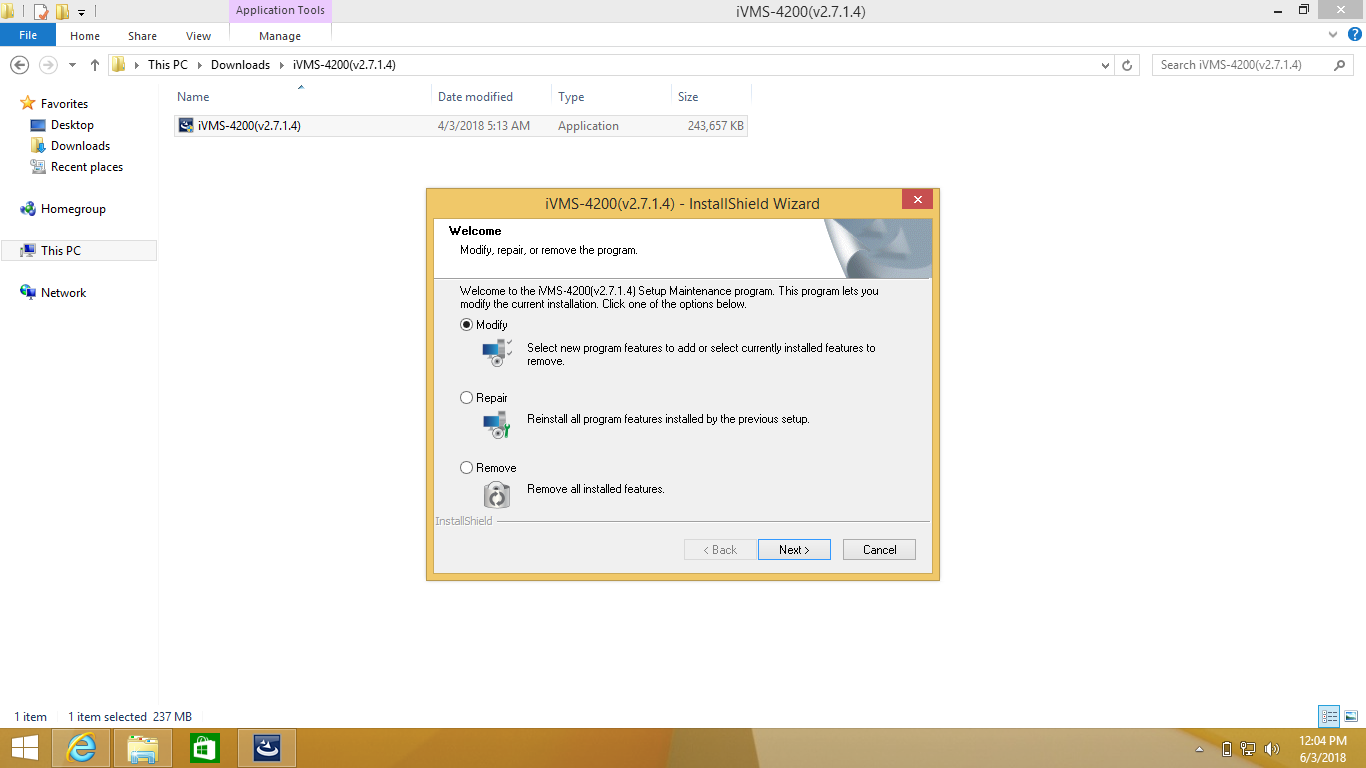
3.Finish the installation of iVMS-4200

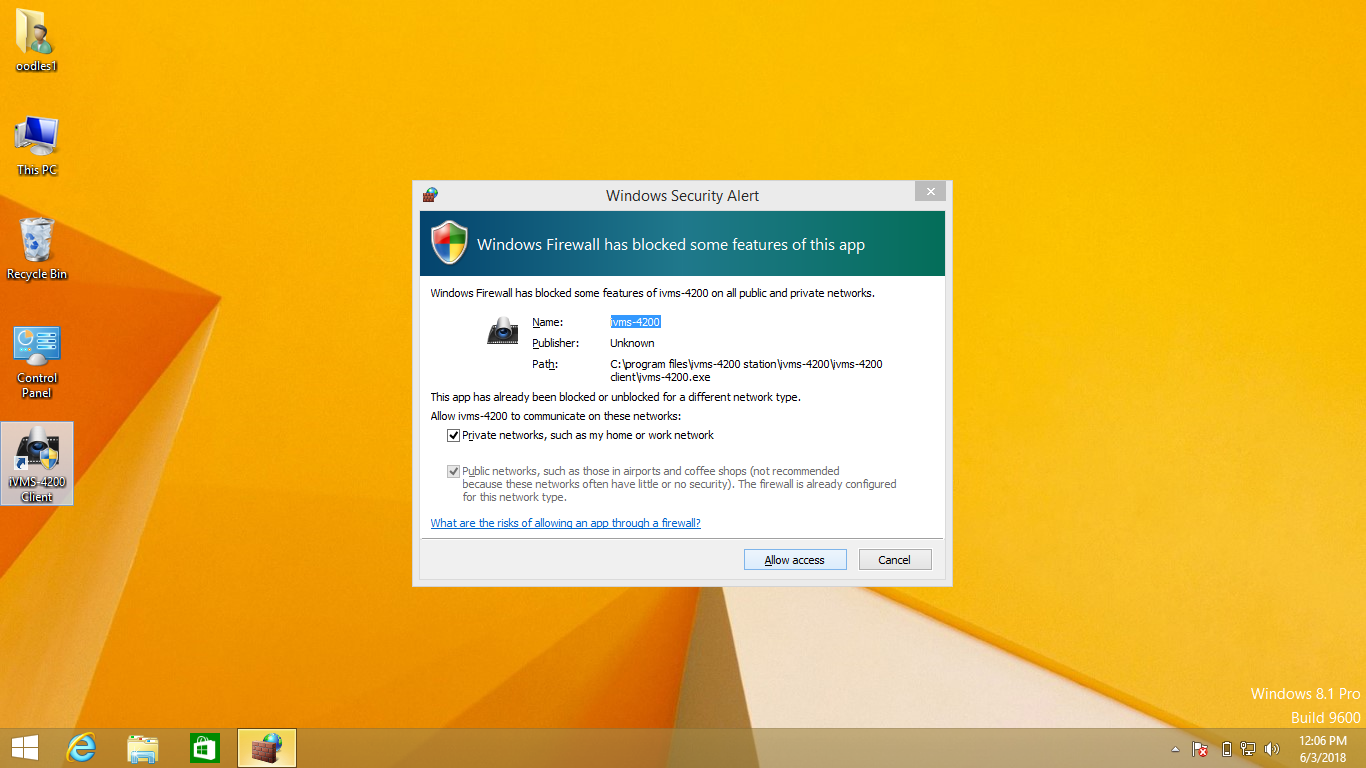
4.Open the iVMS-4200, by clicking the desktop shortcut

5.Allow the iVMS-4200 for the network access
6.Wait the till the program loads

7.Allow the nginx(dependent for the program) for the network access

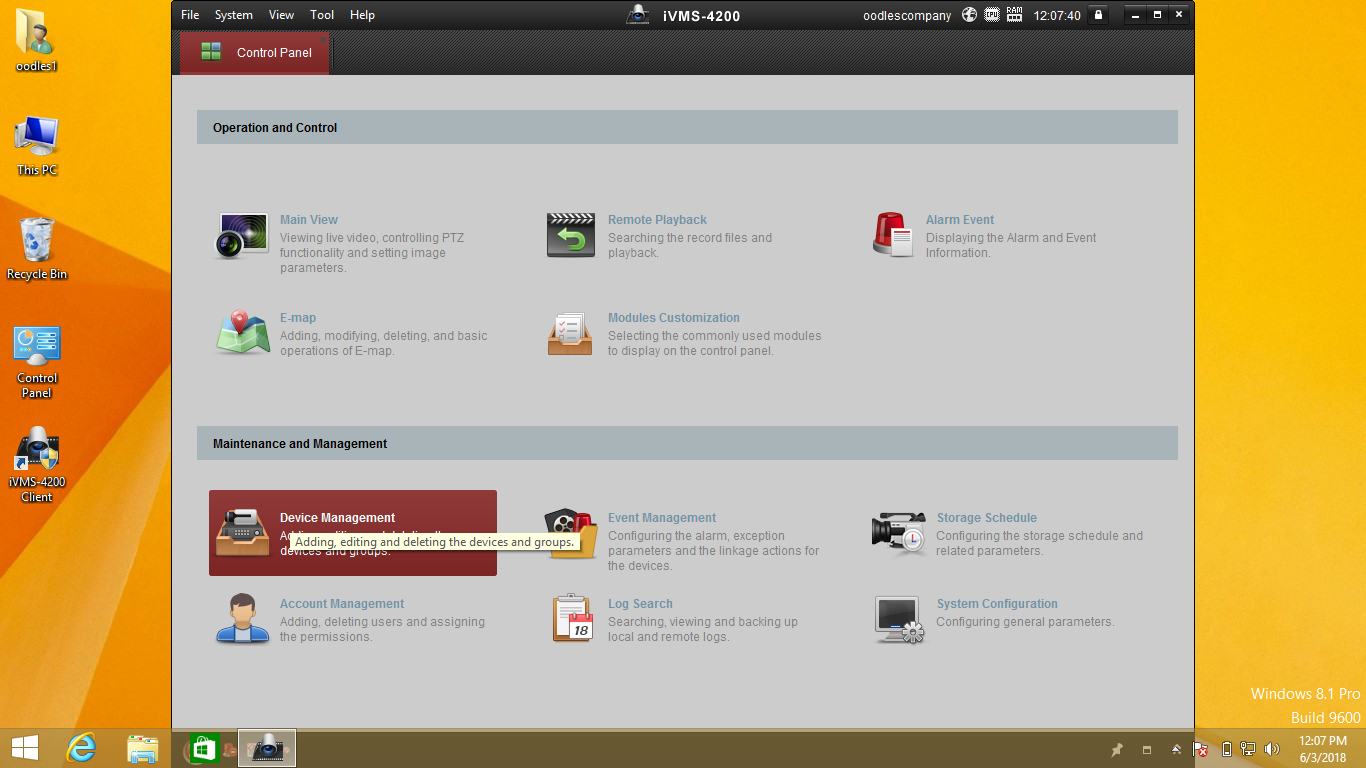
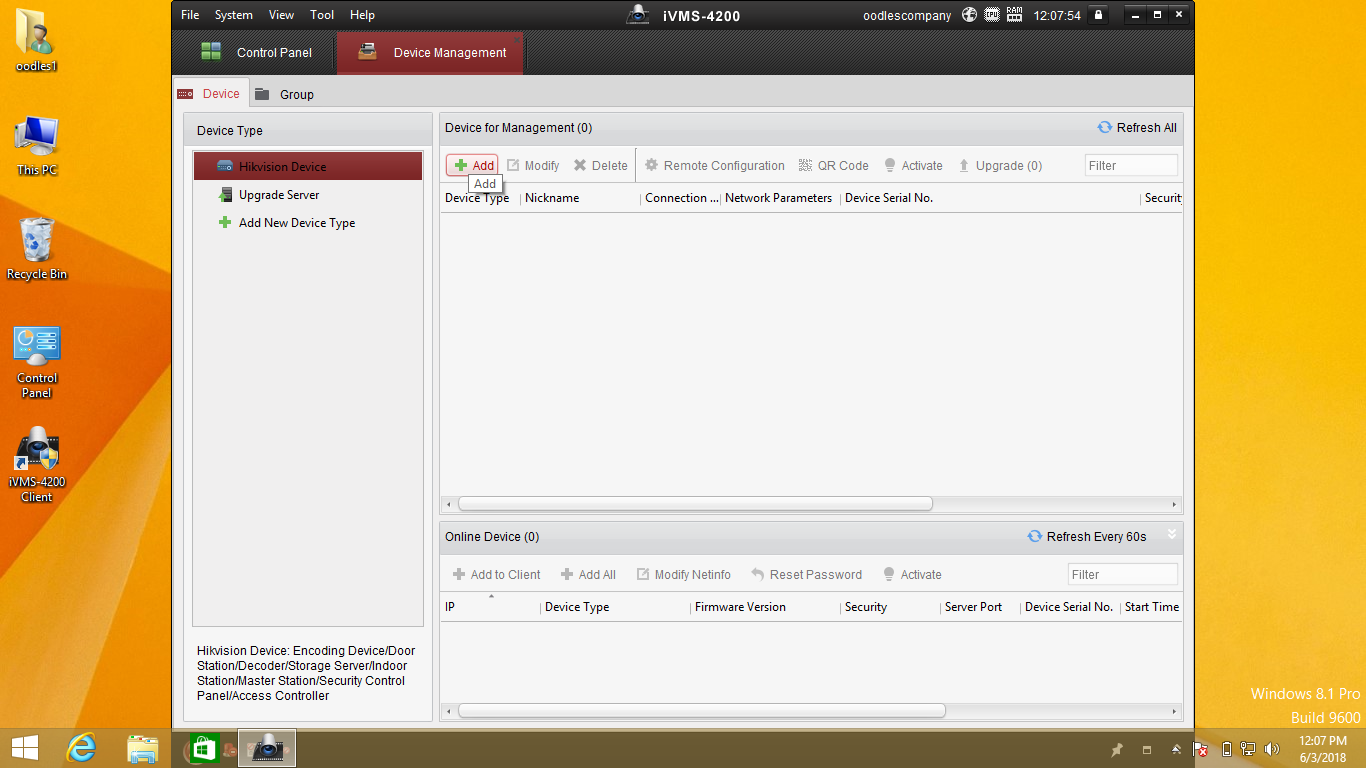
8.Now go to the Device Management section for the adding of DVRs/NVRs
9.Click on the add button as to add new device(DVR)
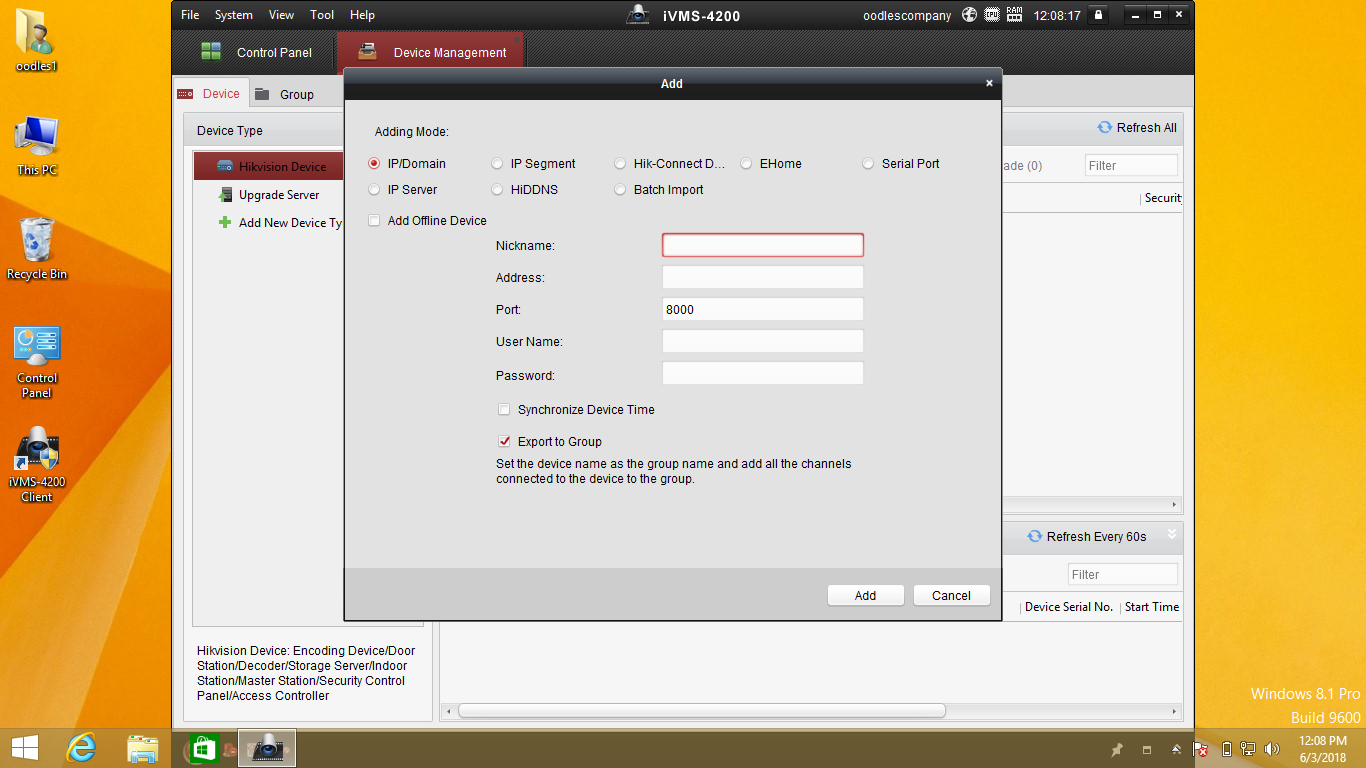
10.Now enter the DVR details as per your settings
11.After adding the DVR or NVR, go to the Main View section for the live view.

12.You will be able to see the Live surveillance


Cookies are important to the proper functioning of a site. To improve your experience, we use cookies to remember log-in details and provide secure log-in, collect statistics to optimize site functionality, and deliver content tailored to your interests. Click Agree and Proceed to accept cookies and go directly to the site or click on View Cookie Settings to see detailed descriptions of the types of cookies and choose whether to accept certain cookies while on the site.


About Author
Shiv Shankar
Shiv is a highly skilled Infra professional, specializing in Linux, infrastructure management, Prometheus, AWS, Docker, shell scripting, Grafana, and Ansible. His expertise lies in effectively designing, deploying, and managing scalable solutions on the AWS platform, as evidenced by his certifications in CCNA and AWS. Shiv's proficiency in Docker, shell scripting, Prometheus, Grafana, and Ansible enables him to streamline infrastructure management and automate various processes for enhanced efficiency.